
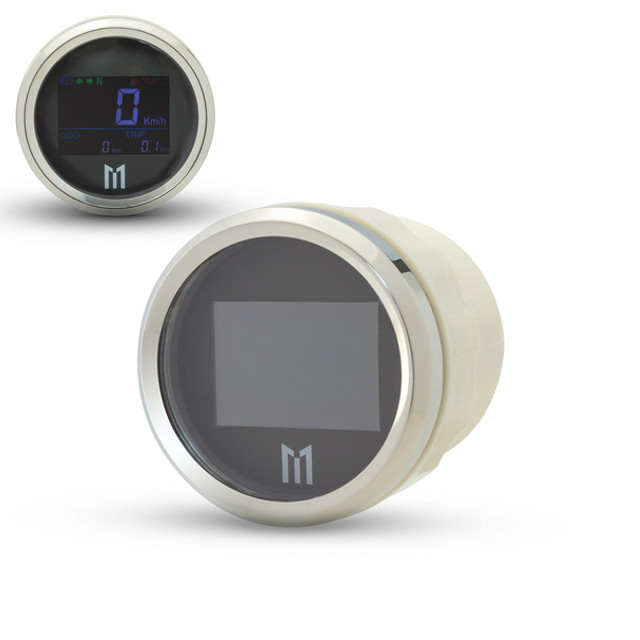
Kamikaze Moto GPS speedometer 200KPH/120MPH gauge PDF instructions great for cafe racers
Kamikaze Moto GPS speedometer 200KPH/120MPH gauge PDF instructions
Kamikaze Moto GPS speedometer 200KPH/120MPH gauge PDF instructions
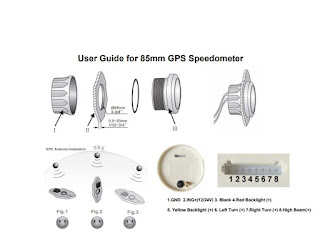
1. Cut an 85mm (3 3/8") hole in the panel (II) allow a clearance of . behind the panel.
2. Remove fastening ring (I), insert gauge from front. Tighten gauge (III) using fastening ring ( I)
3. Connect cables according to the diagram. Choose red or yellow background light.
4. Securely fasten the GPS antenna, preferably outdoors (or inside front windscreen) so that it has a clear view of the sky to pick up satellite signals. Connect the antenna cable to socket on the gauge. Do not cut cable.
5. After turning power on, allow the gauge to sample satellite signal for 1 minute.
6. All data is for reference only and should not be trusted as sole navigation source.
Function Select: “ODO”,“BUZZ” Press and hold on the button at the back, then turn on the power supply. The LCD will show ODO, BUZZ, etc.
You can select the function to be set after release button. 1.GND 2.ING+(12/24V) 3. Blank 4.Red Backlight (+) 5. Yellow Backlight (+) 6. Left Turn (+) 7.Right Turn (+) 8.High Beam(+)
1.“ODO”(change total odometer) After selecting “ODO”, the LCD will show for example “5000” (5000 km) , press the button to change the flashing digit from 0 to 99999 to set the target odometer value.
2.“BUZZ”(change overspeed buzzer alarm threshold value) After selecting “BUZZ”, the LCD will show for example “B 80” (buzzer will be on when speed over 80km/h), press the button to change the flashing digit from 10 to 240 to set target overspeed buzzer alarm threshold value. Please noted: After setting, you should disconnect both Power+ and GND, and then reconnect the two cable, then it will save the setting. If you just cut Power +, then it’ll not work properly.
Here is our 52mm Speedometer we carry as well. https://speedmotoco.com/52mm-gps-digital-speedomet...
Dec 17th 2022
Recent Posts
-

Mikuni RS 34, 36, 38 Carburetor Kits NOW AVAILABLE
Looking to spice up or revitalize your old Japanese inline 4 cylinder? Look no further! Speedmotoco …May 13th 2026 -
C.A.R.B. Compliance Info The California Air Resources Board (CARB) & Motorcycle Aftermarket Parts
C.A.R.B. Compliance Info The California Air Resources Board (CARB) & Motorcycle Aftermarket …Mar 27th 2026 -

Revving Up Your Ride: Upgrading to Mikuni Carburetors and LED Headlights at SpeedMotoCo
Revving Up Your Ride: Upgrading to Mikuni Carburetors and LED Headlights at SpeedMotoCo Hey rid …Feb 23rd 2026