
How to Install the DANG! headlight
So you went out and bought yourself a new headlight, or maybe you are still waiting to pull the trigger. But look! Your old headlight is still on your bike. How do you replace it with this new fangled LED tech? No need to worry. We have a full install guide right here.
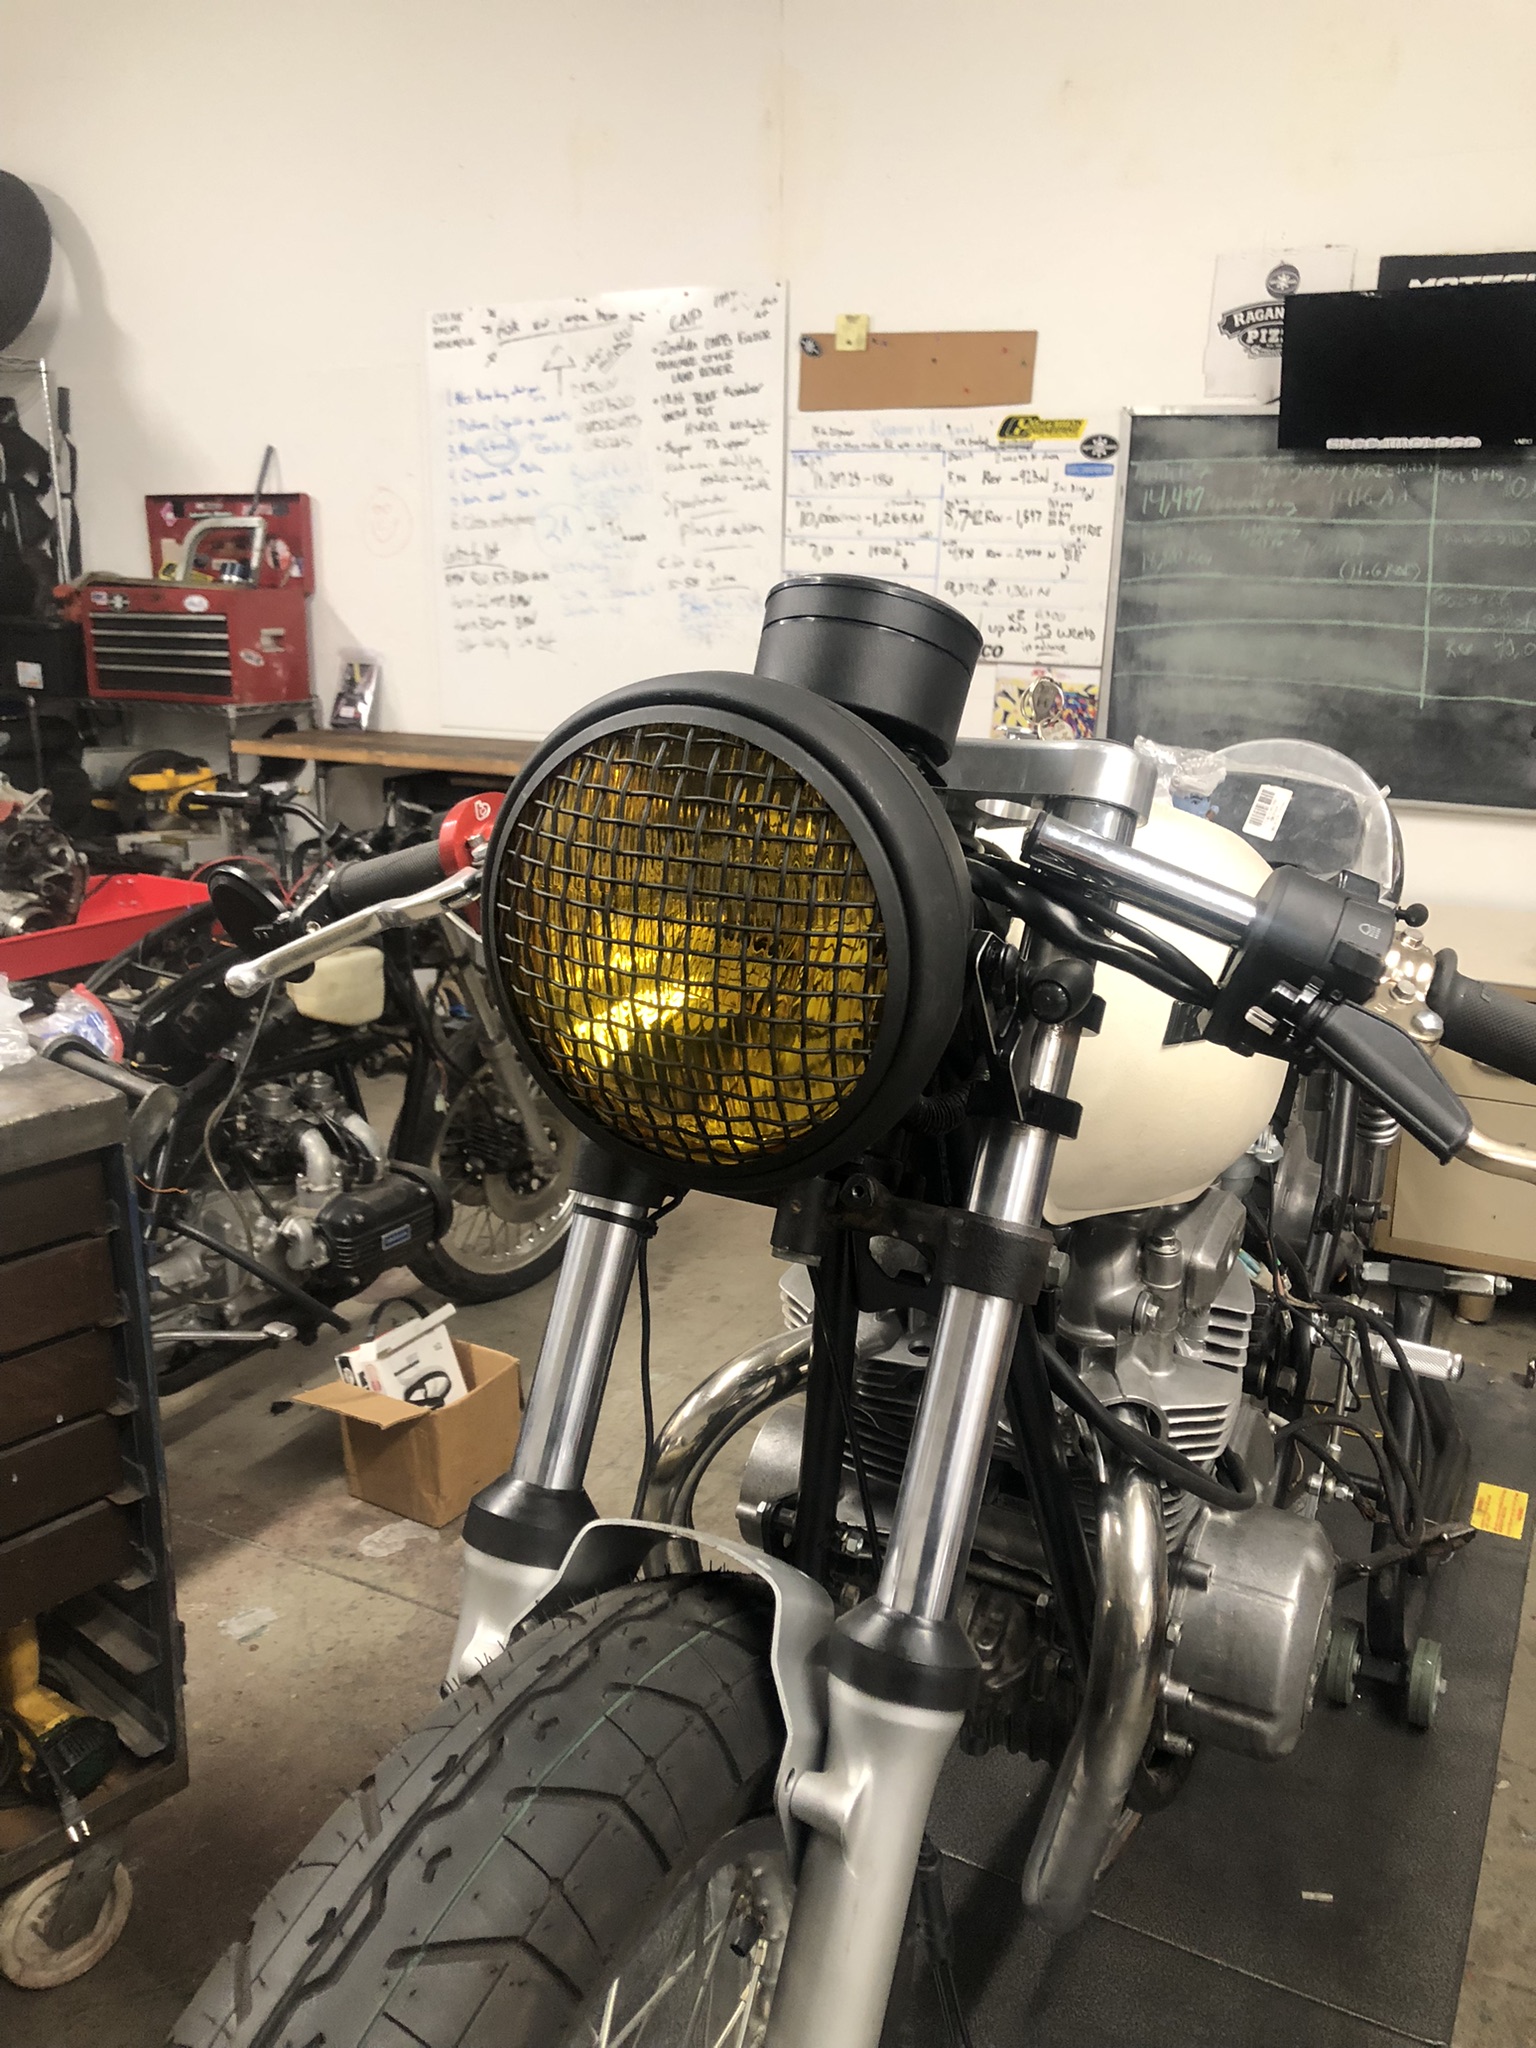
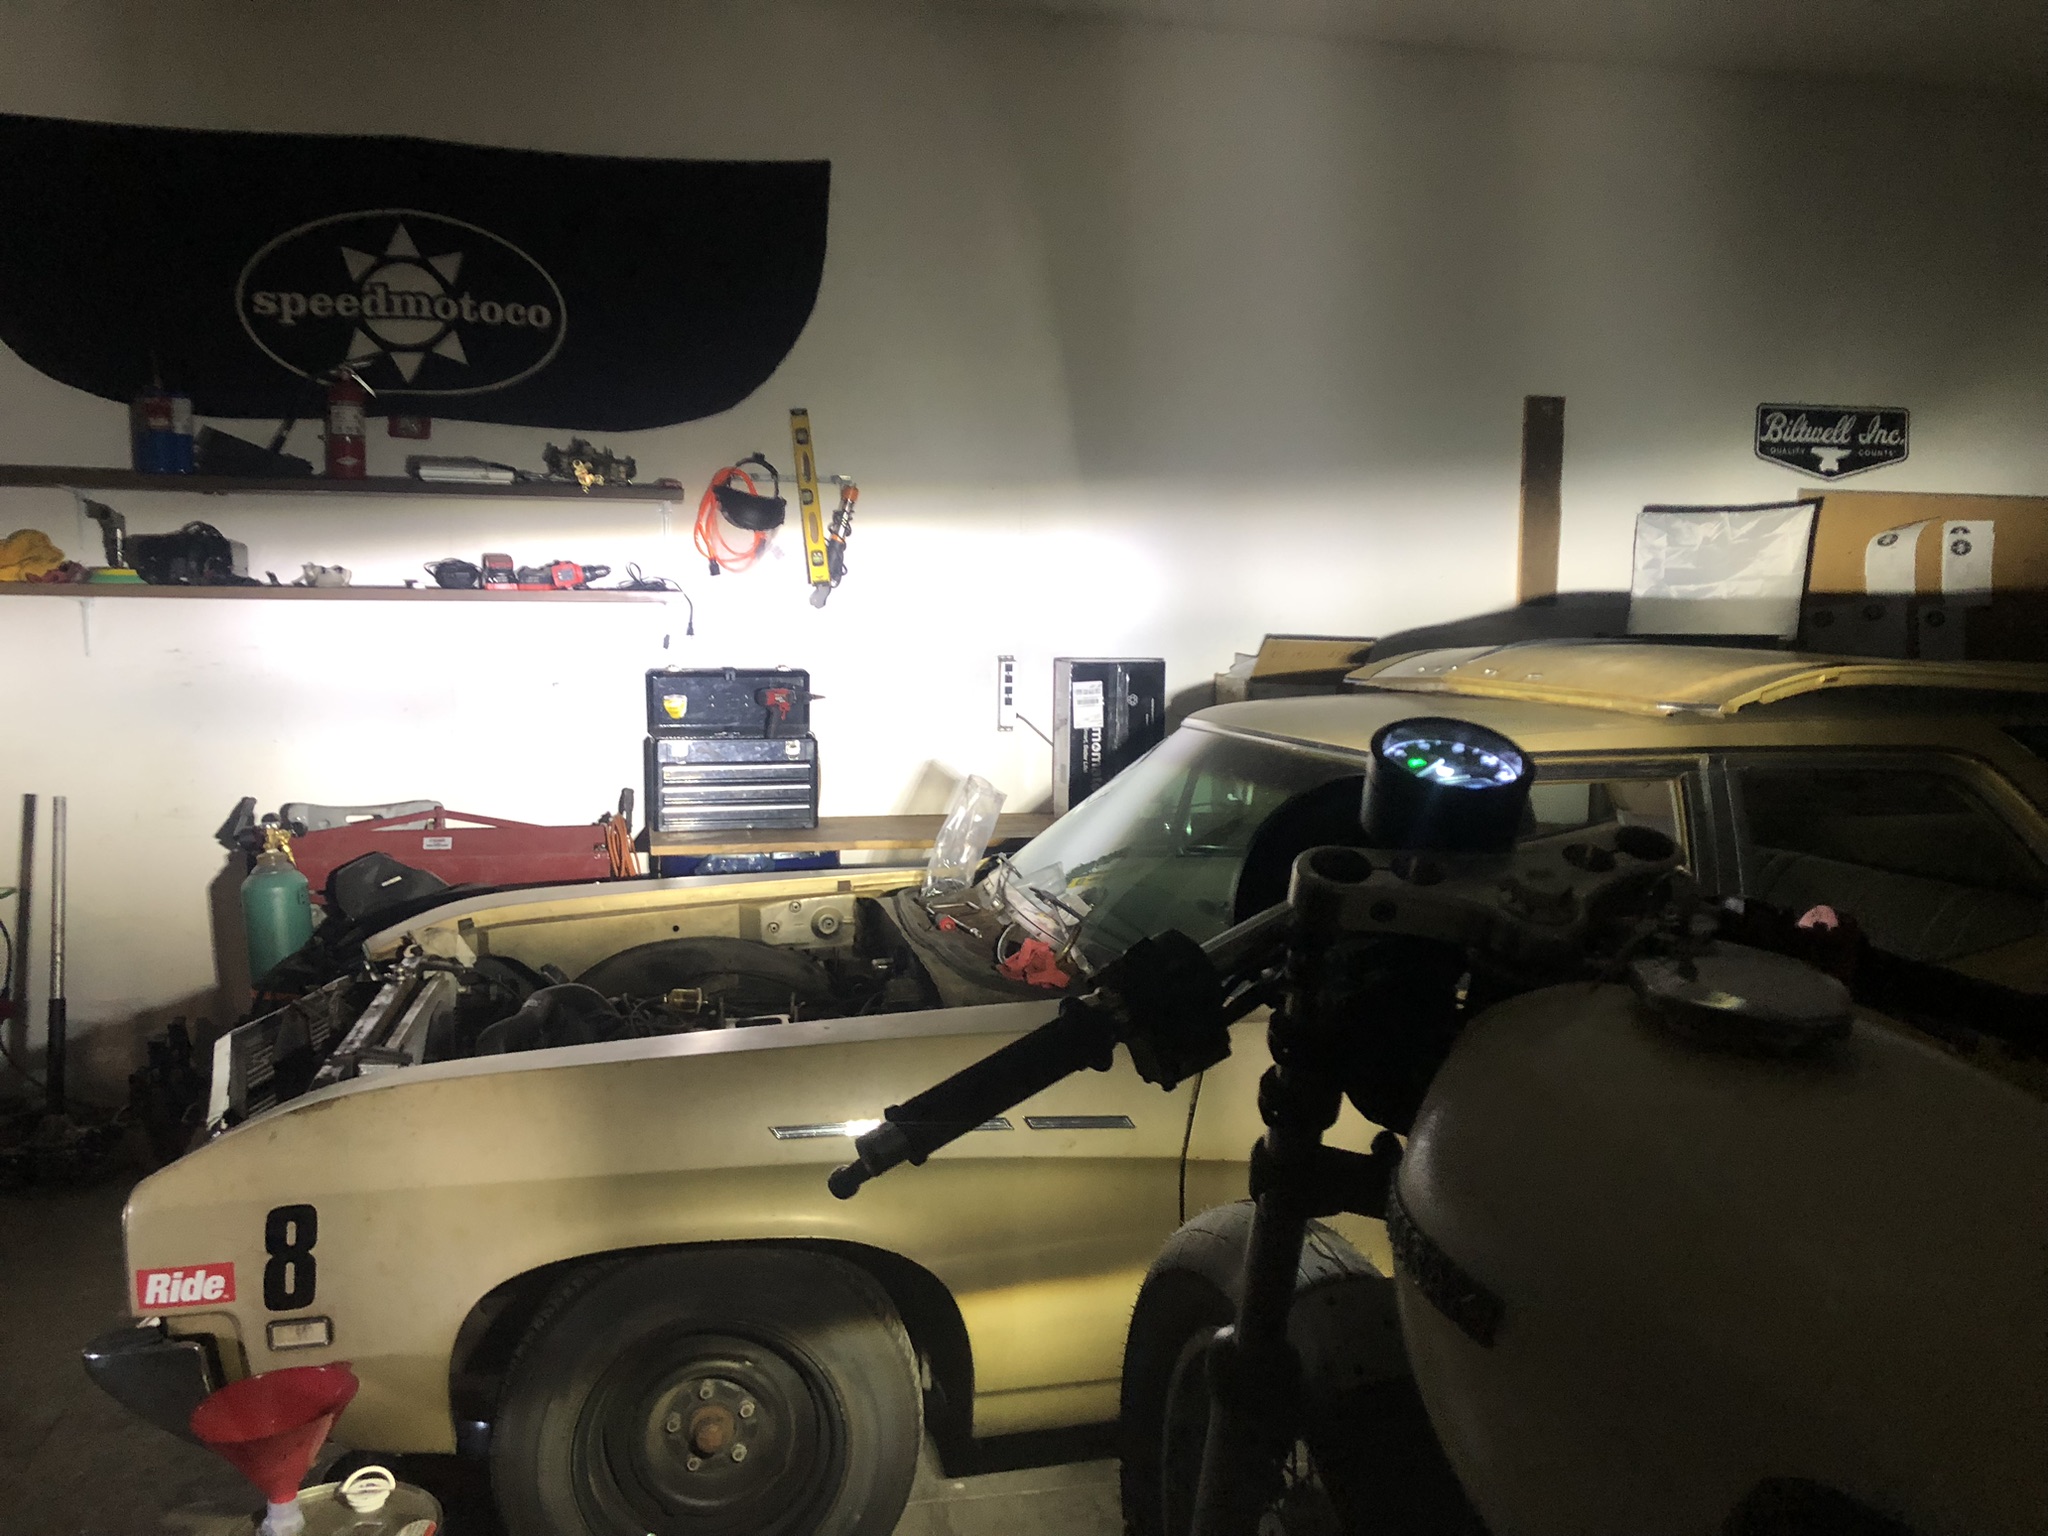
Pictured above is our kz400 cafe bike with a Wire Meshy yellow headlight, We will be removing this and installing the DANG! kit today.
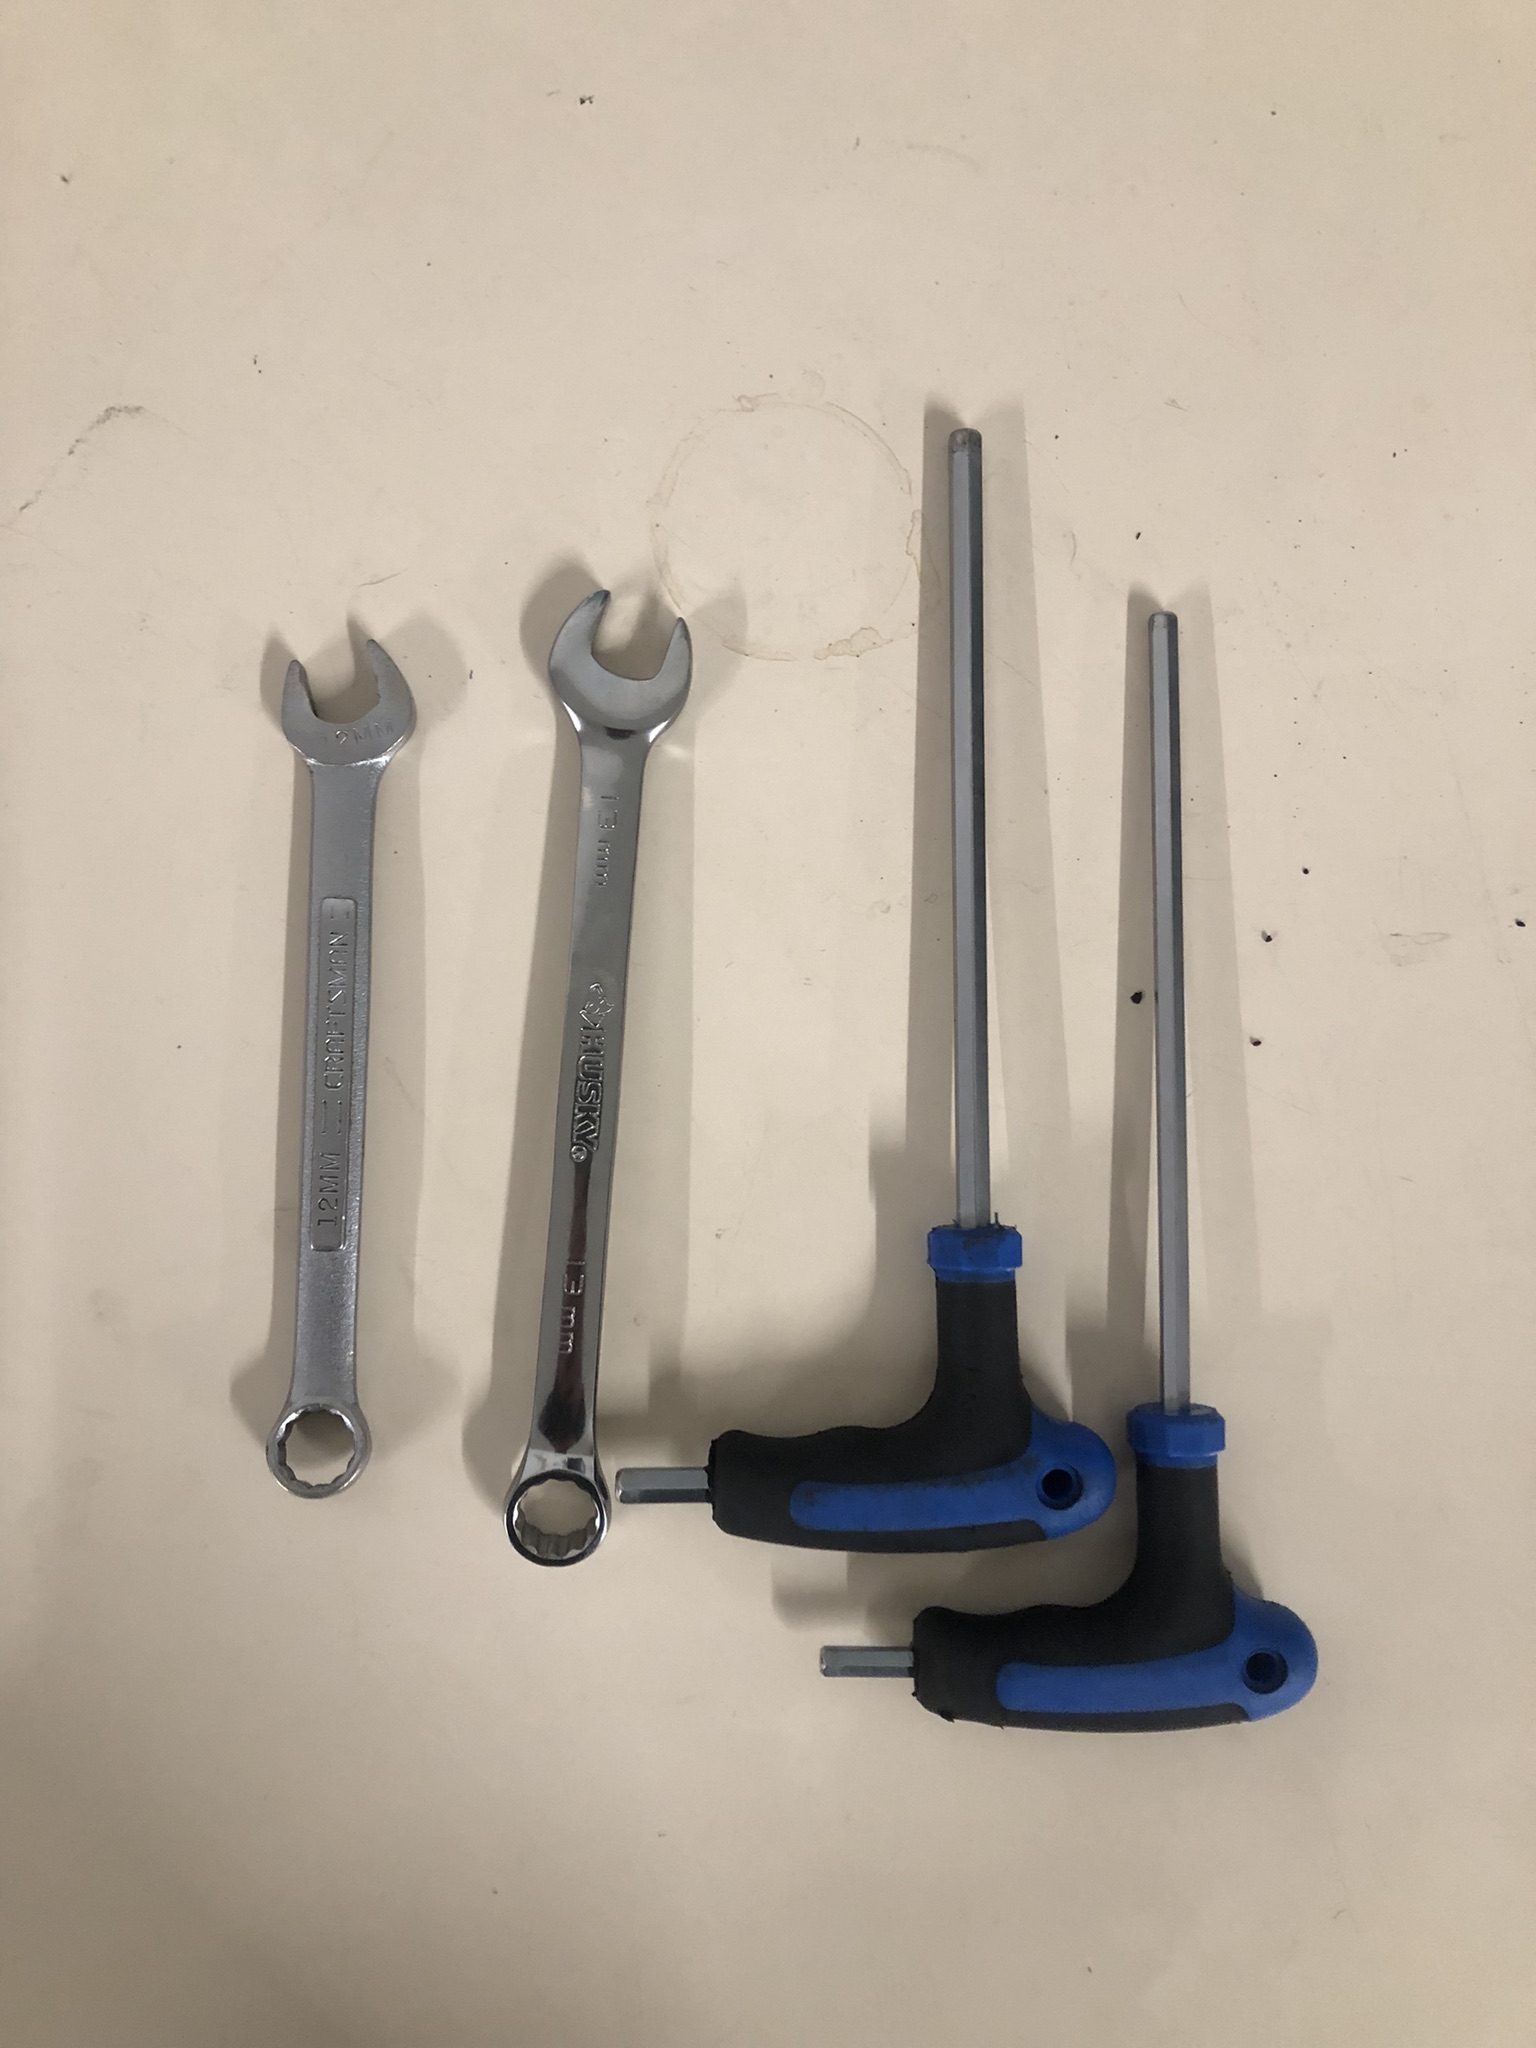
The tools you need depending on your light are as follows, 5mm allen, 6mm allen, and a 12-14mm wrench if your old headlight is mounted with hex heads.
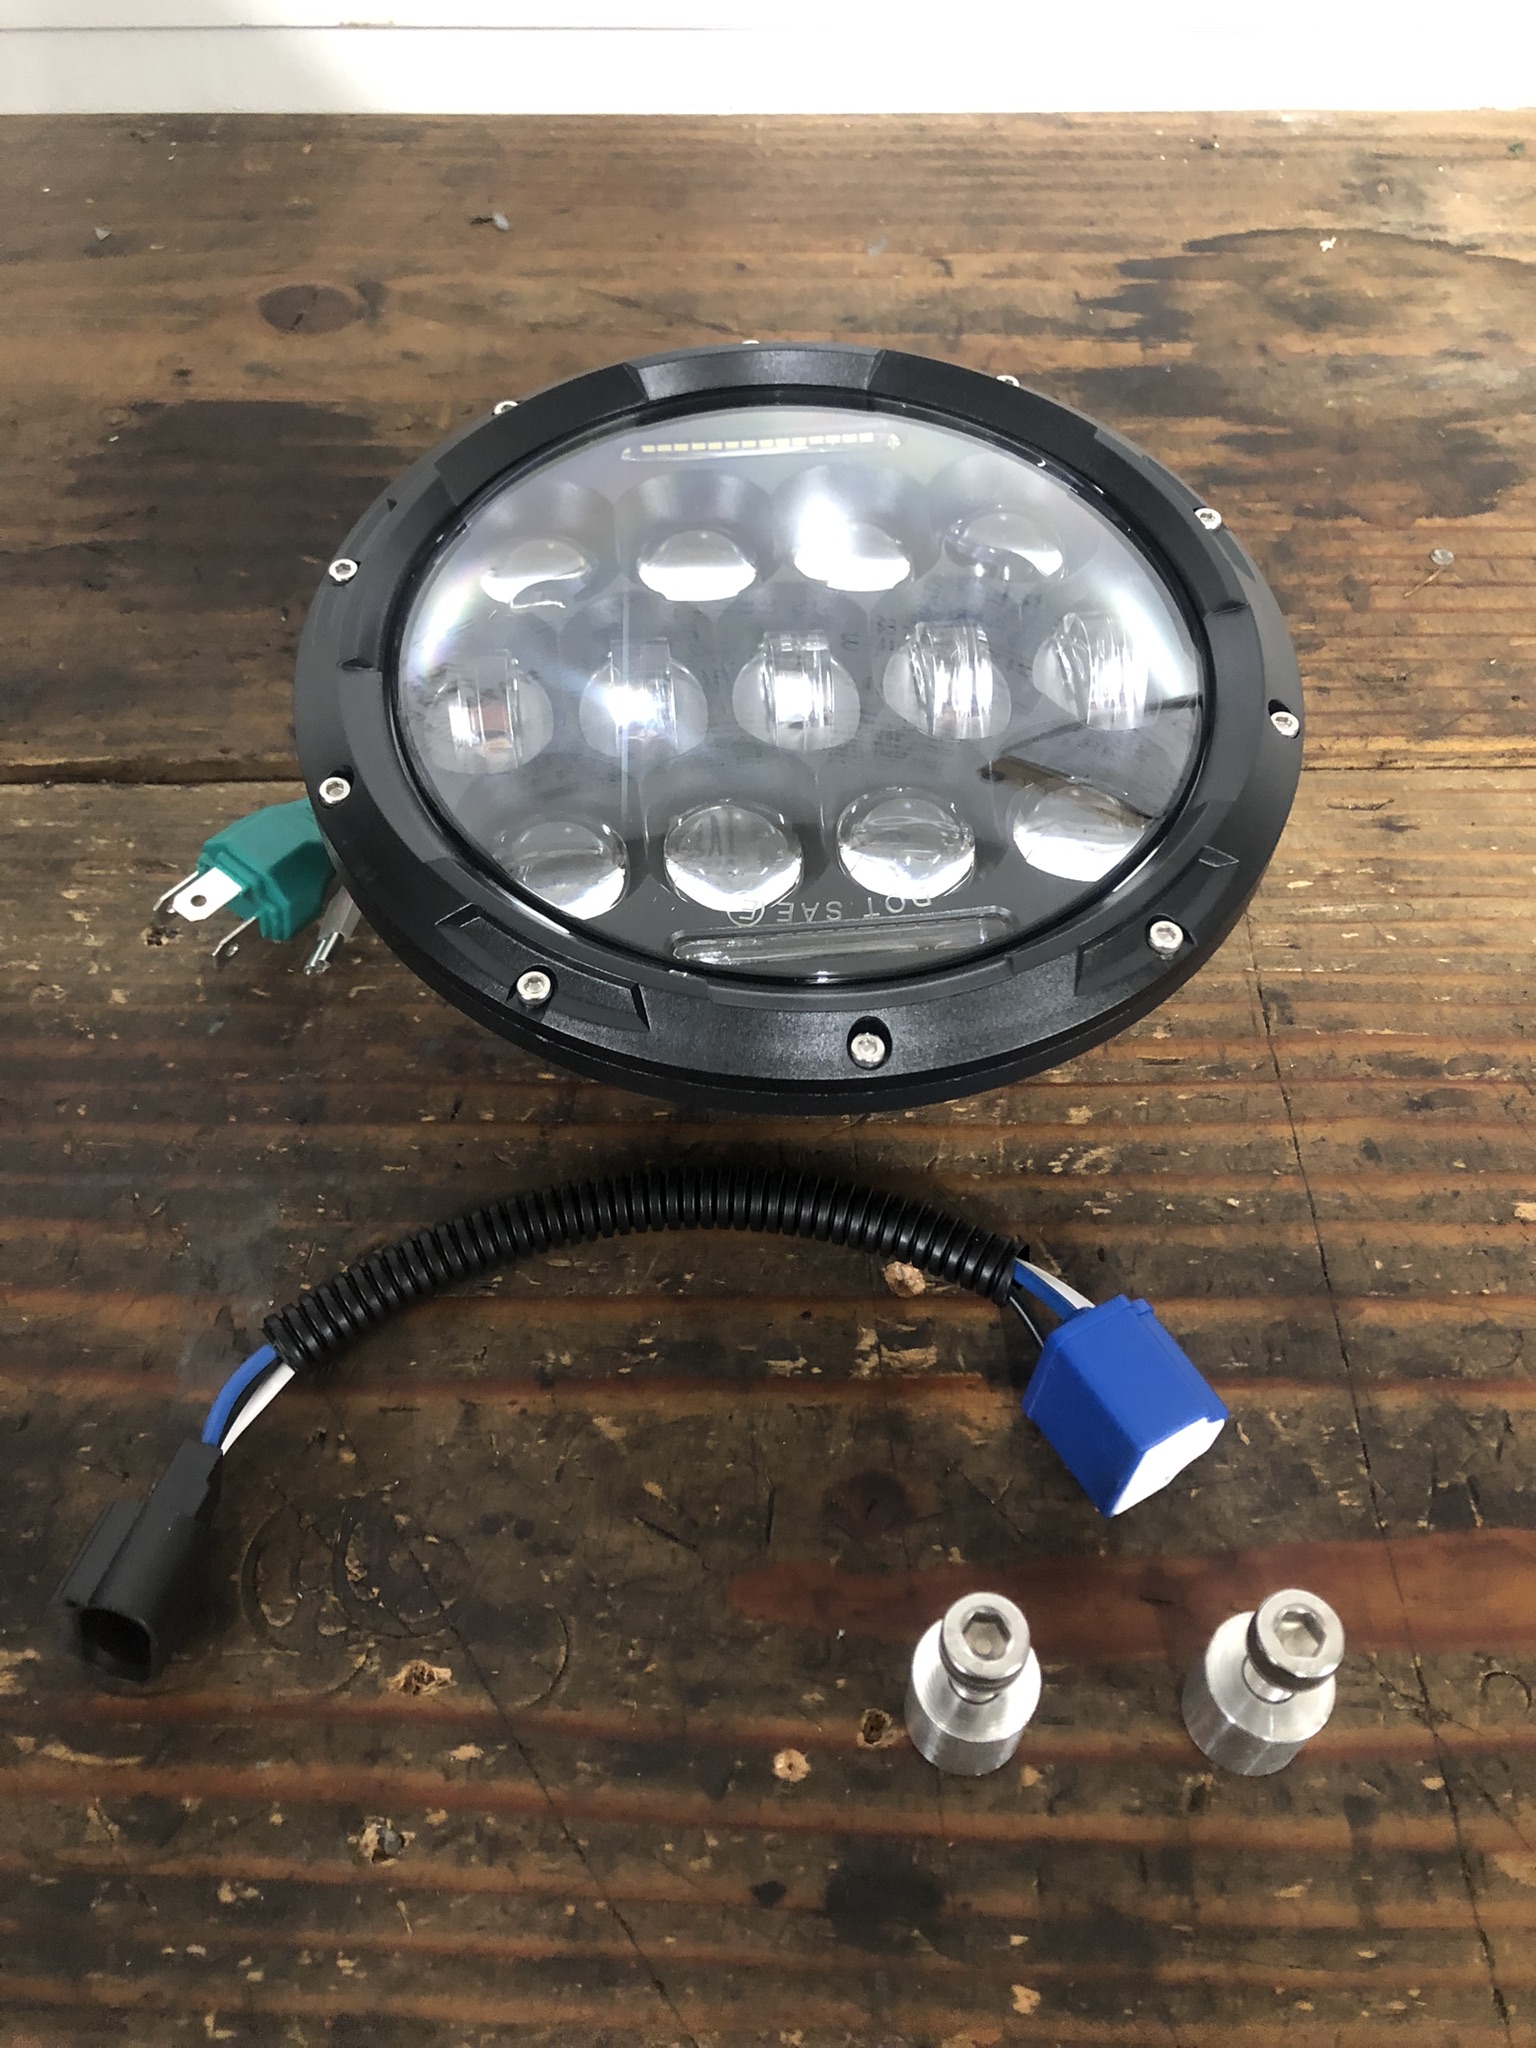
This is what is included in the headlight only DANG! kit. Light, mounting hardware, and a h4 loom adapter. A complete kit also comes with fork brackets like the ones on our bike.
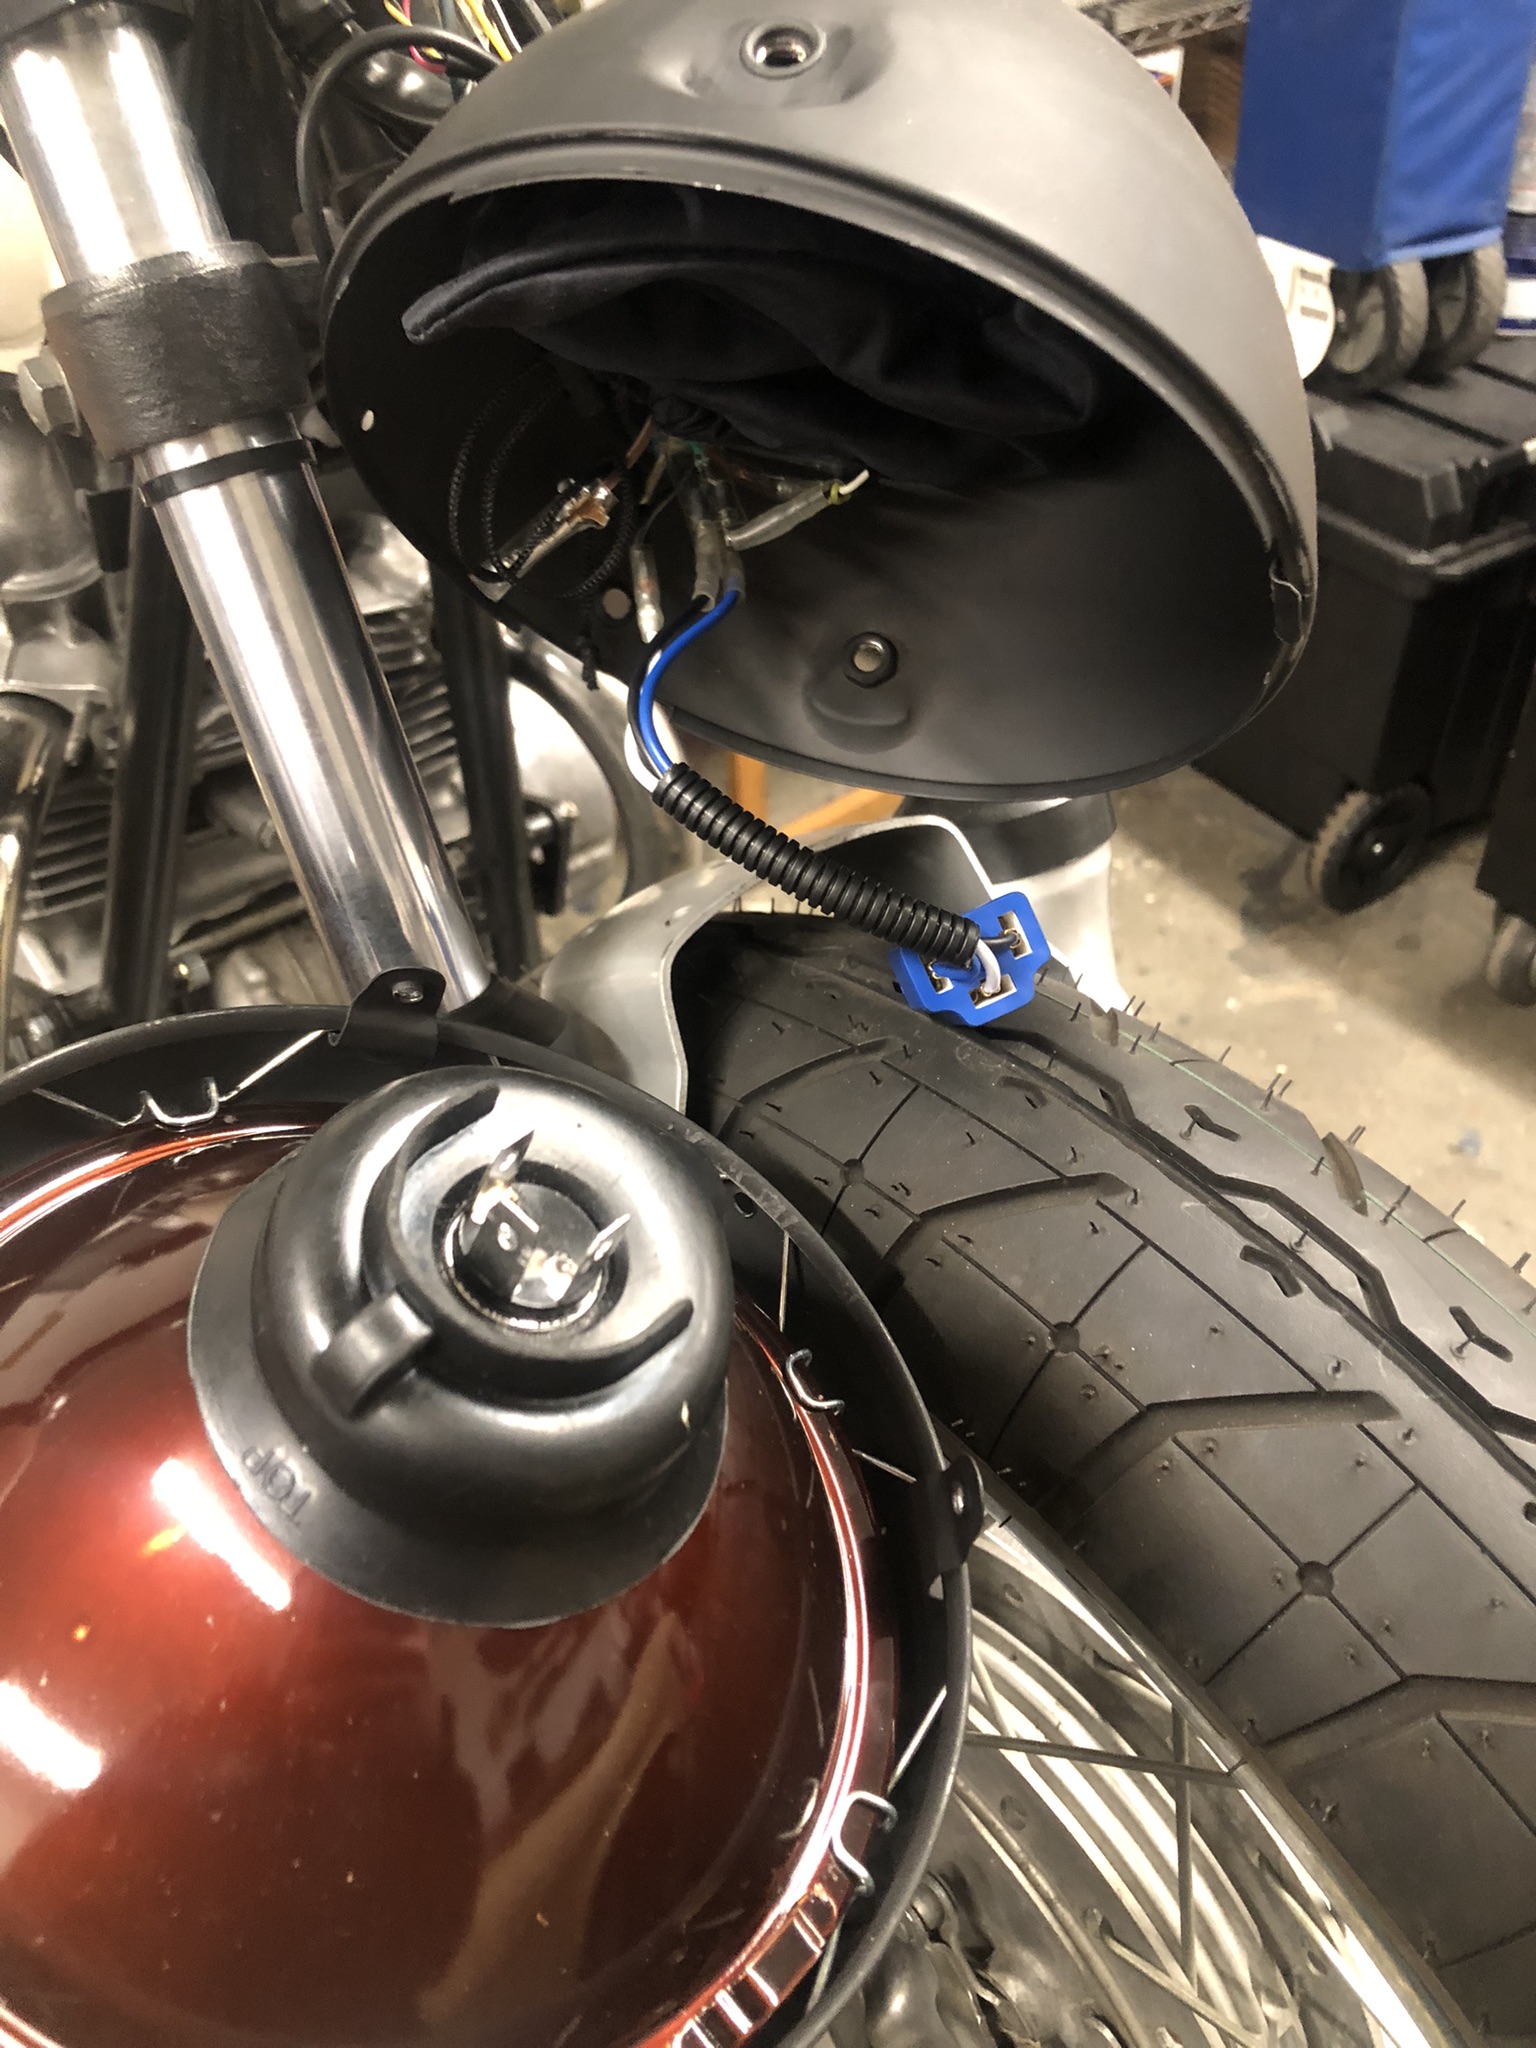
First step in the process is to remove old headlight ring and lens, typically 2x 4mm allens on bottom of bucket. Once it is removed unplug the H4 plug and remove the wires from the bucket.
With the lens unplugged and bucket free of wiring, take the 5mm allen key and removed the two bolts from the bucket. Once the bucket is off of the bike set aside for another project.
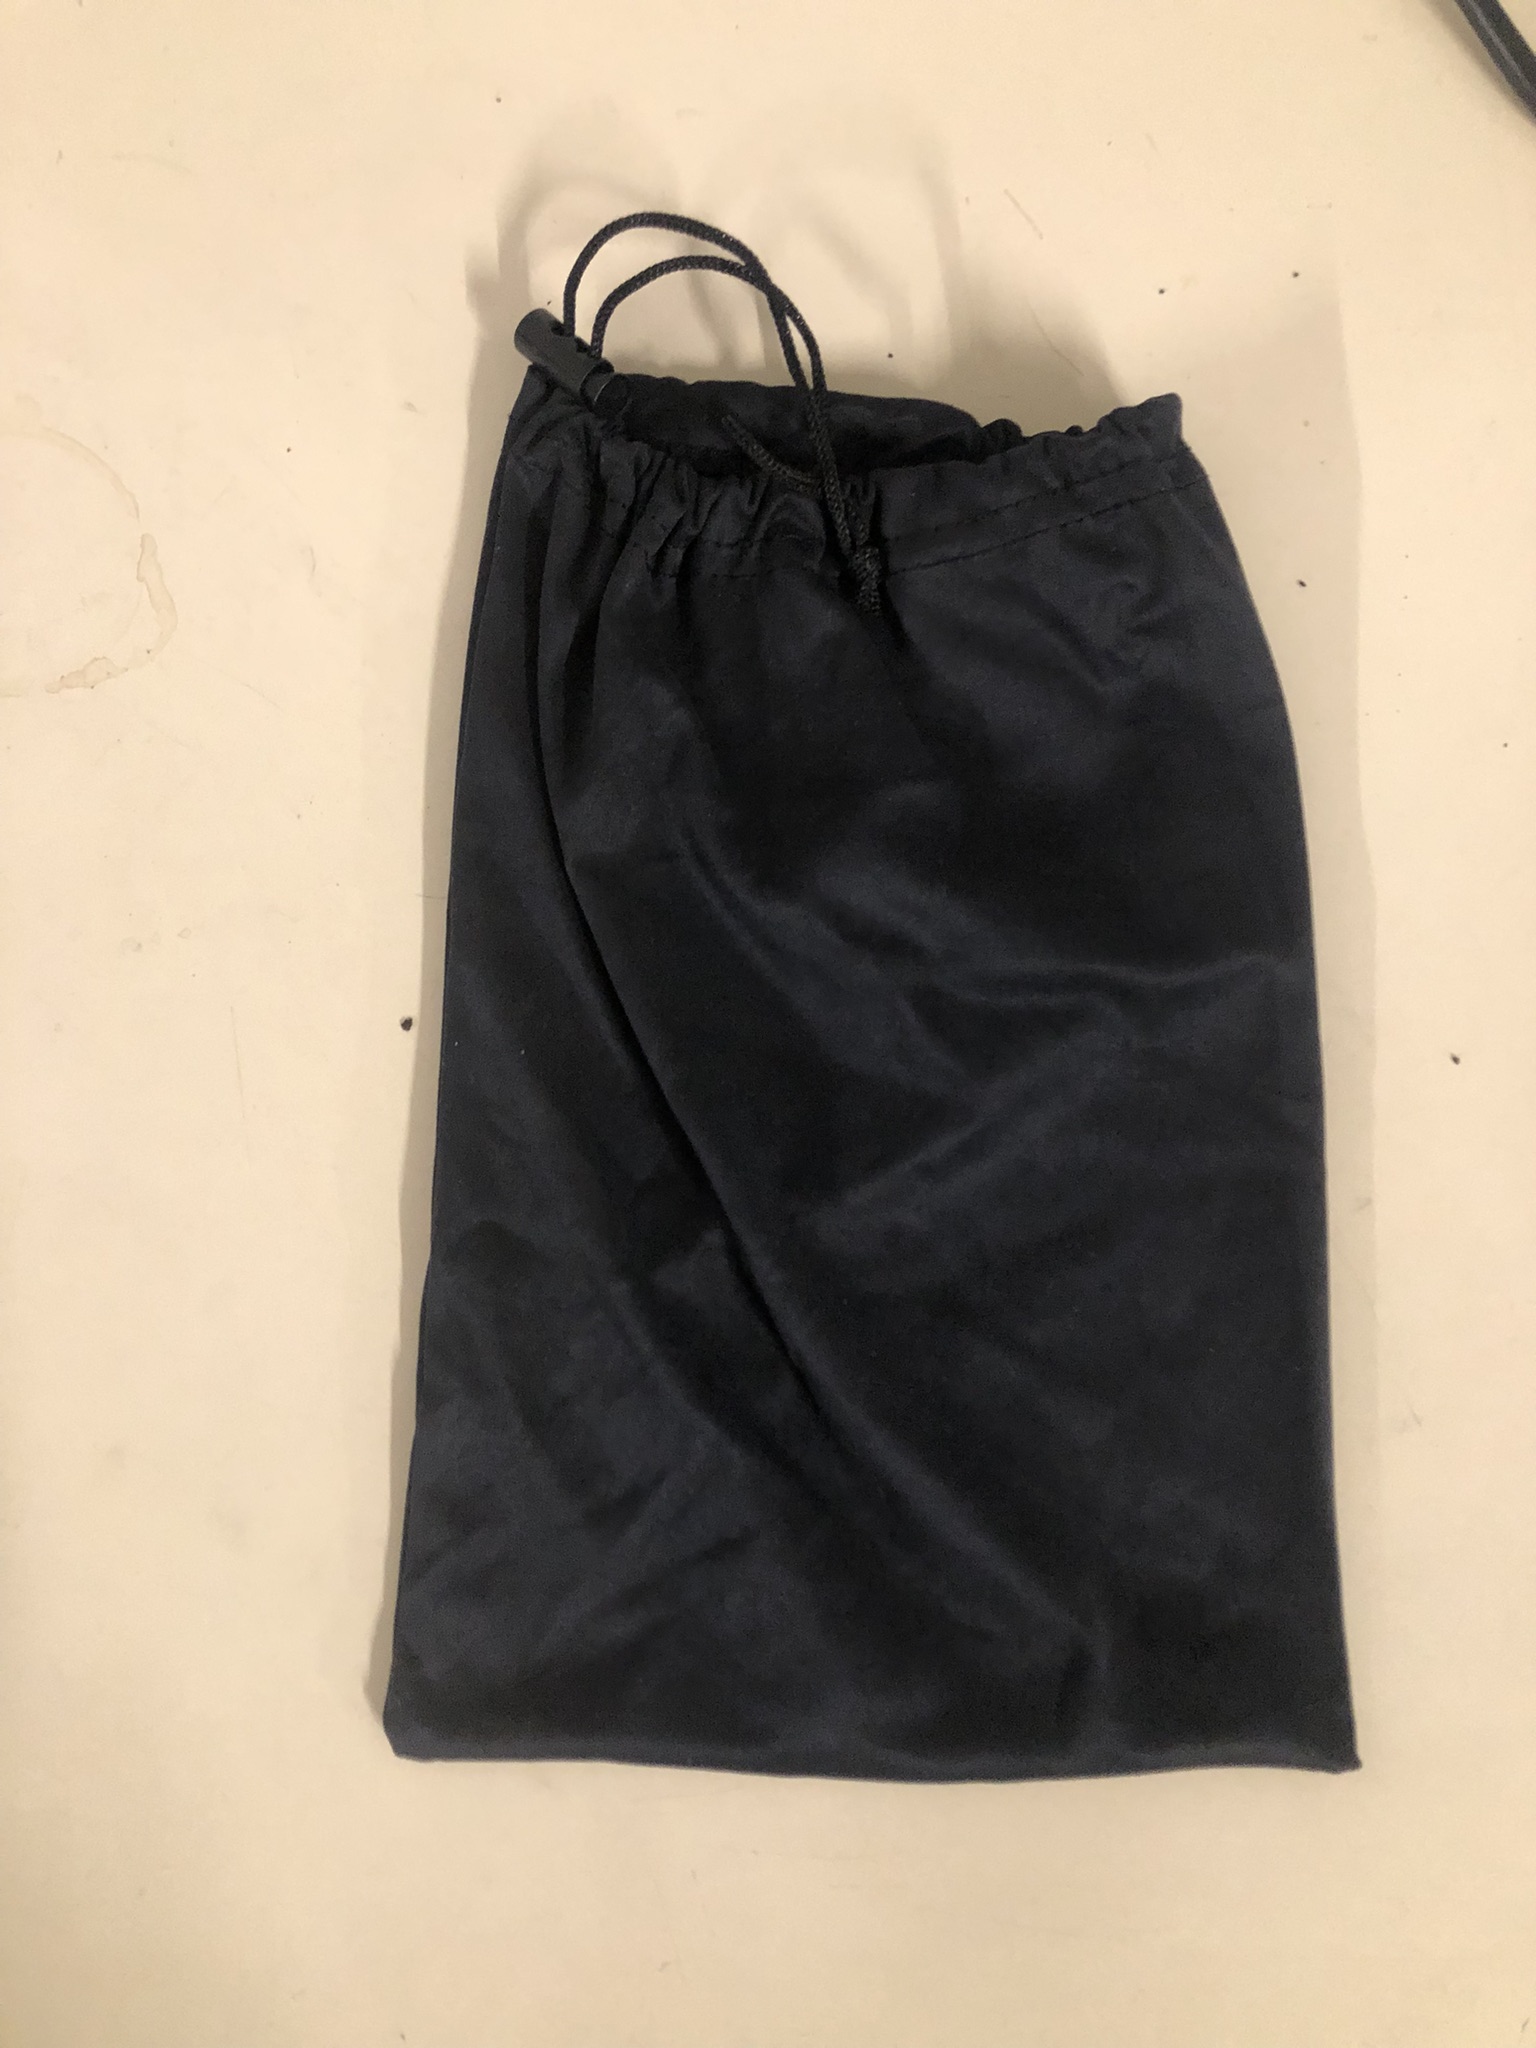
Now this part is optional but it can make a big difference. A small drawstring bag, like one used for ski goggles, can be used to hide the exposed wiring.

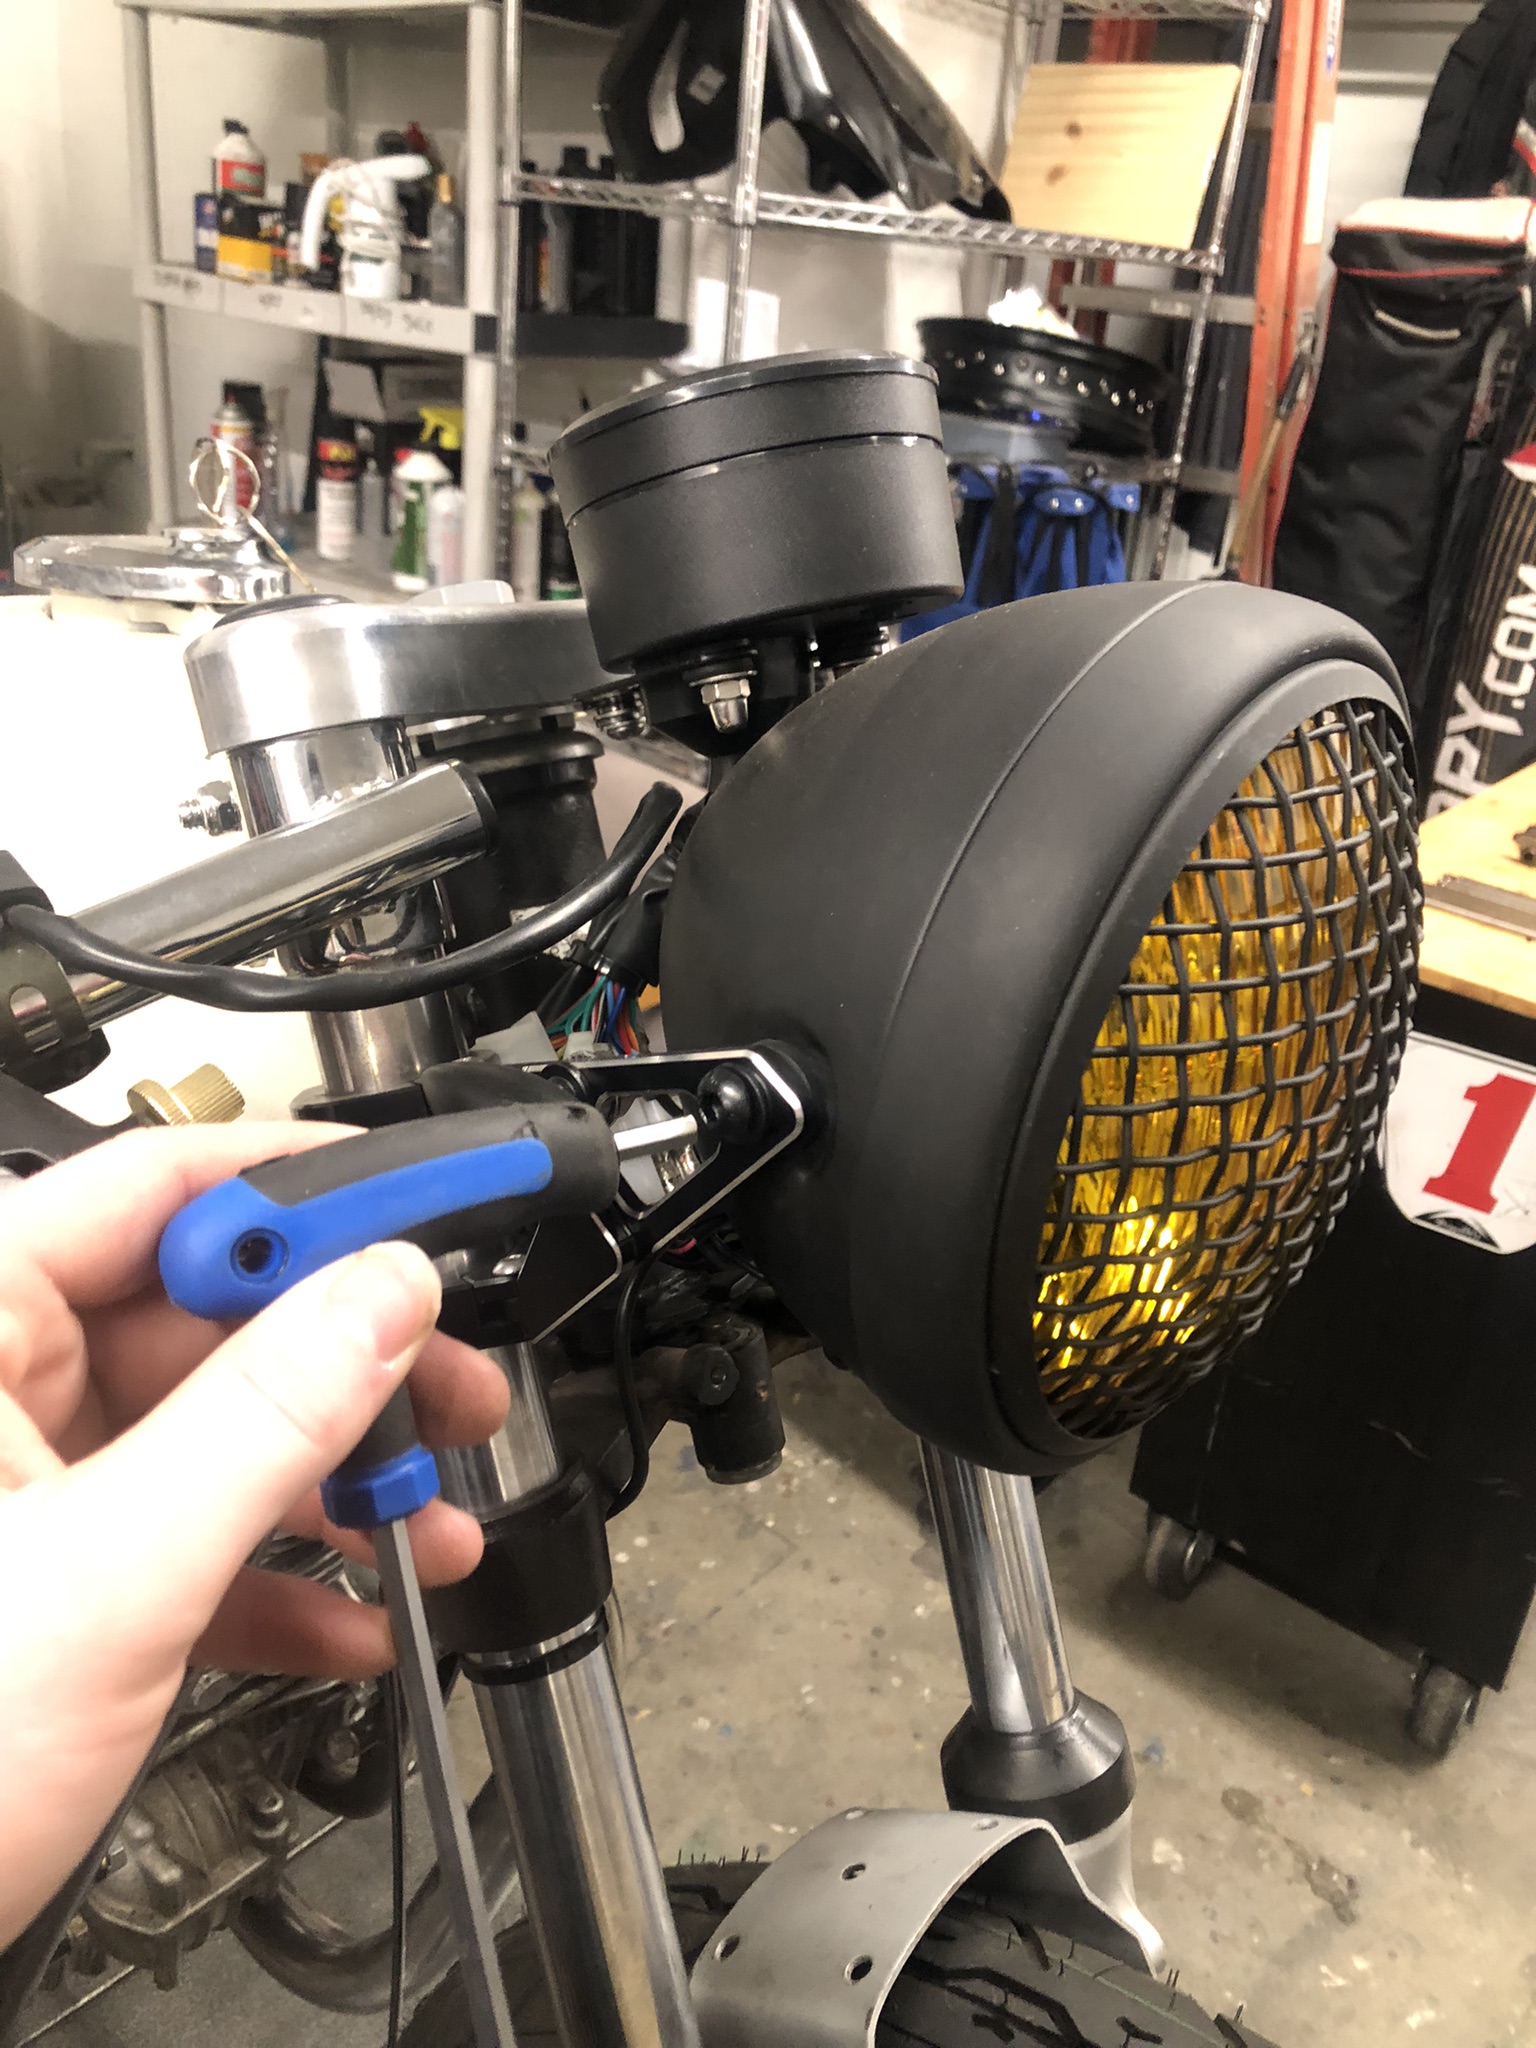
To install the DANG! headlight you must first rotate your fork brackets inward to accommodate the width of the light. If you cannot rotate your brackets, longer bolts and spacers may be needed.
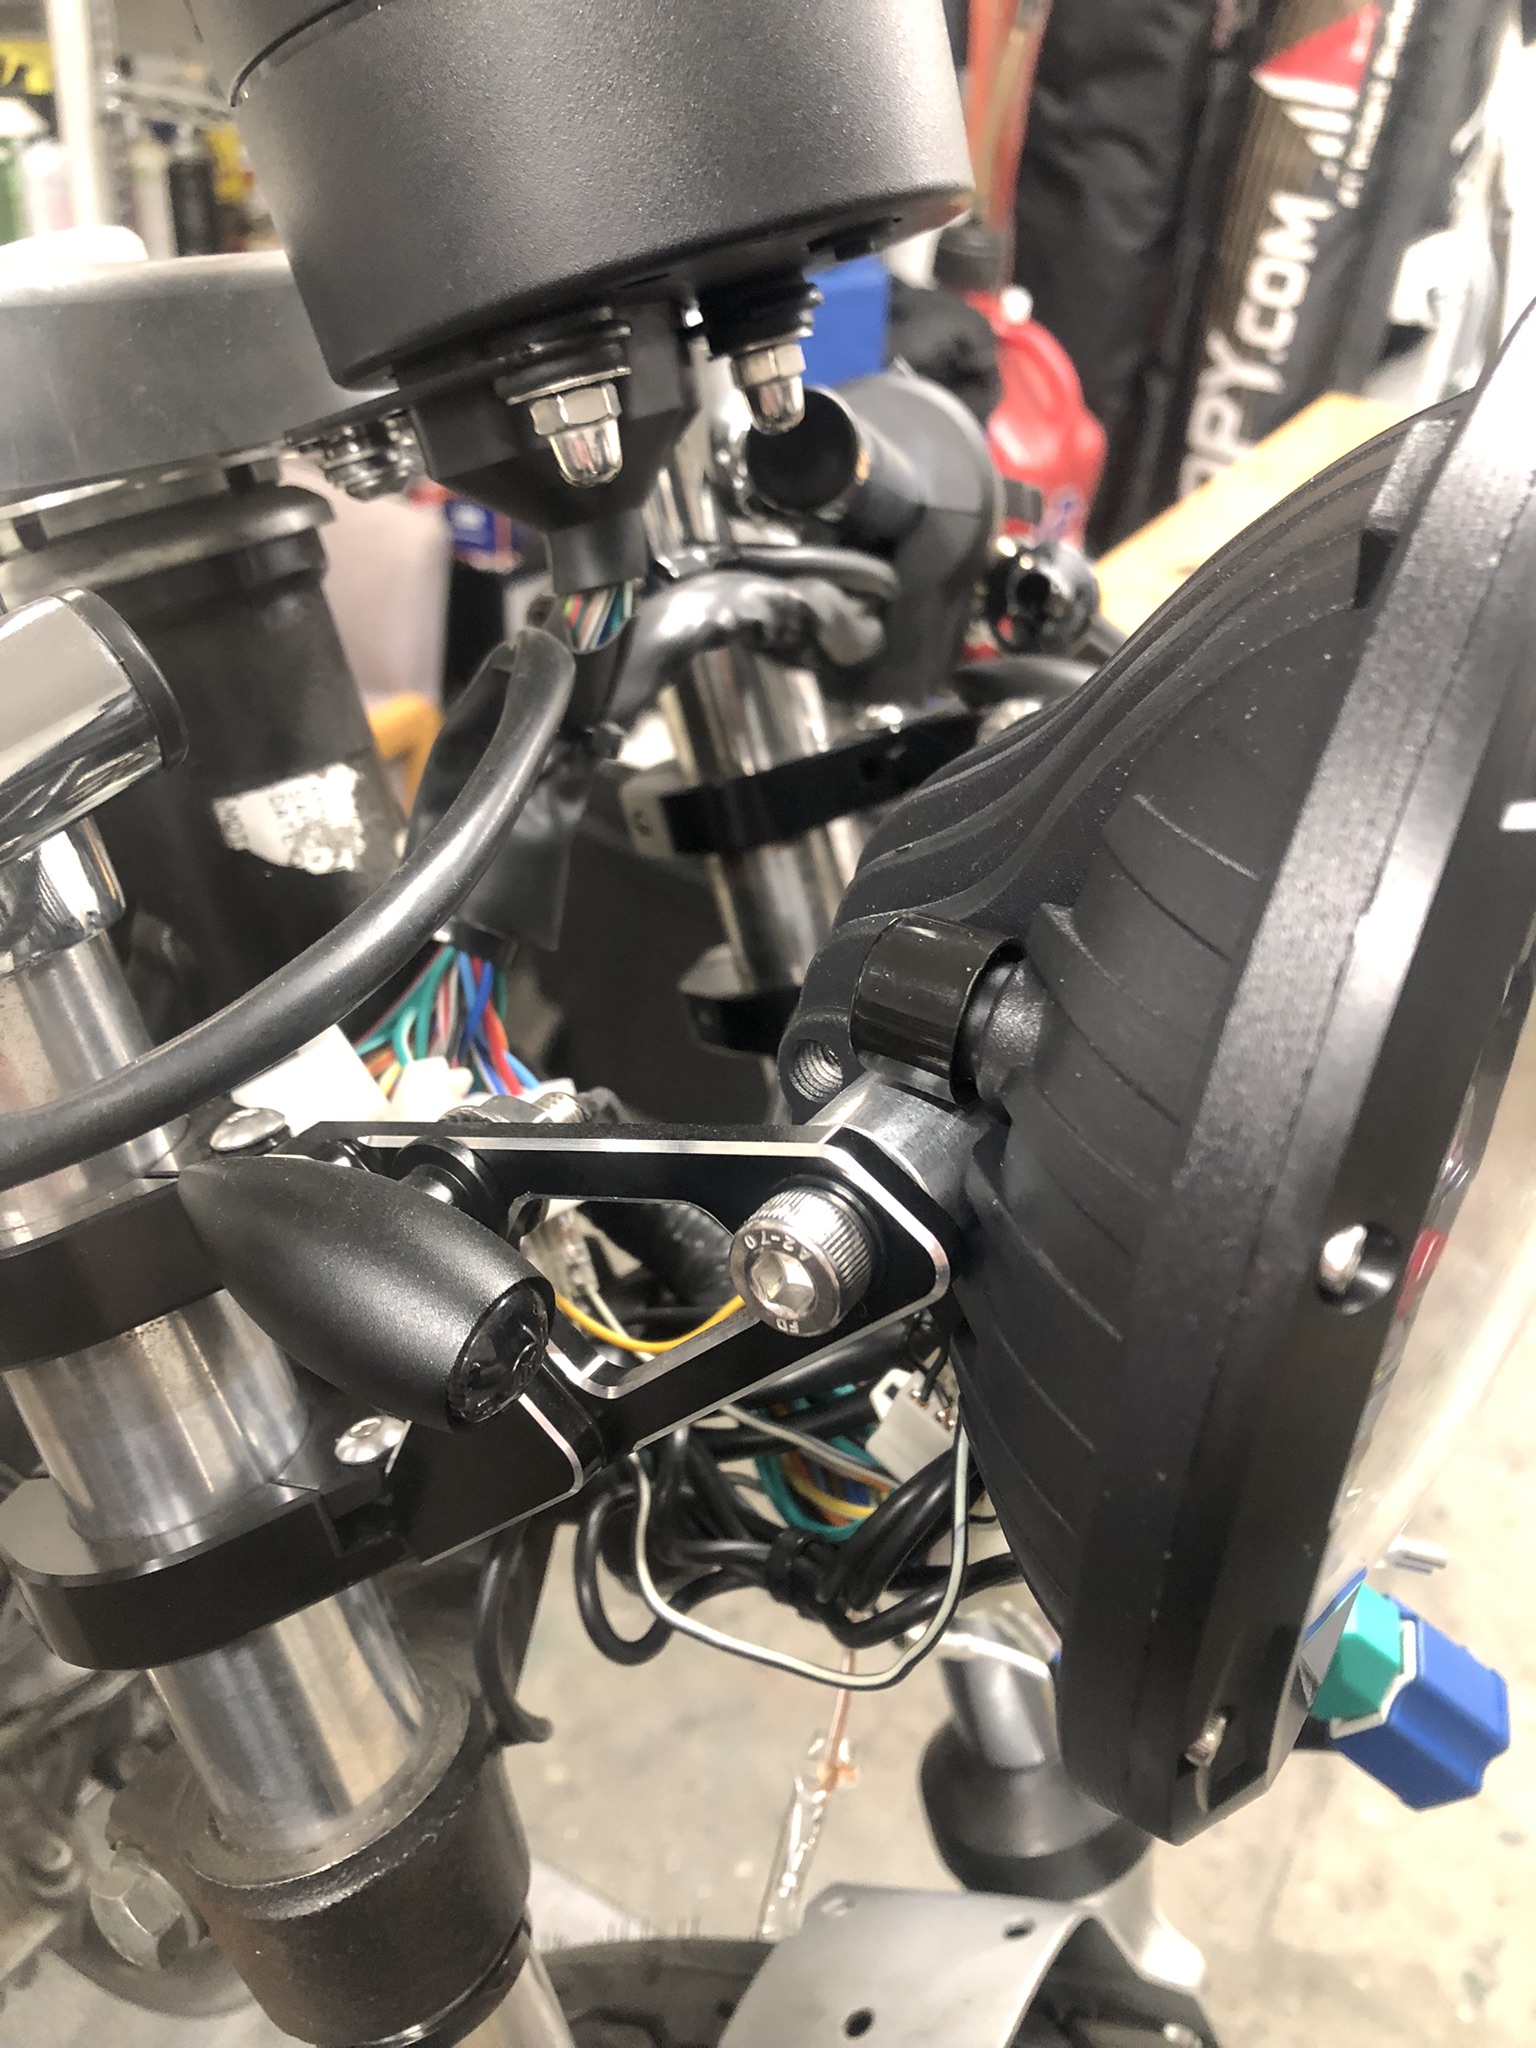
With the brackets rotated to the correct width, put the bolt through the bracket, then the aluminum spacer, then thread into the light. Complete this step on both sides. Plug the h4 plug into the wiring harness. Check to see if the light powers up!
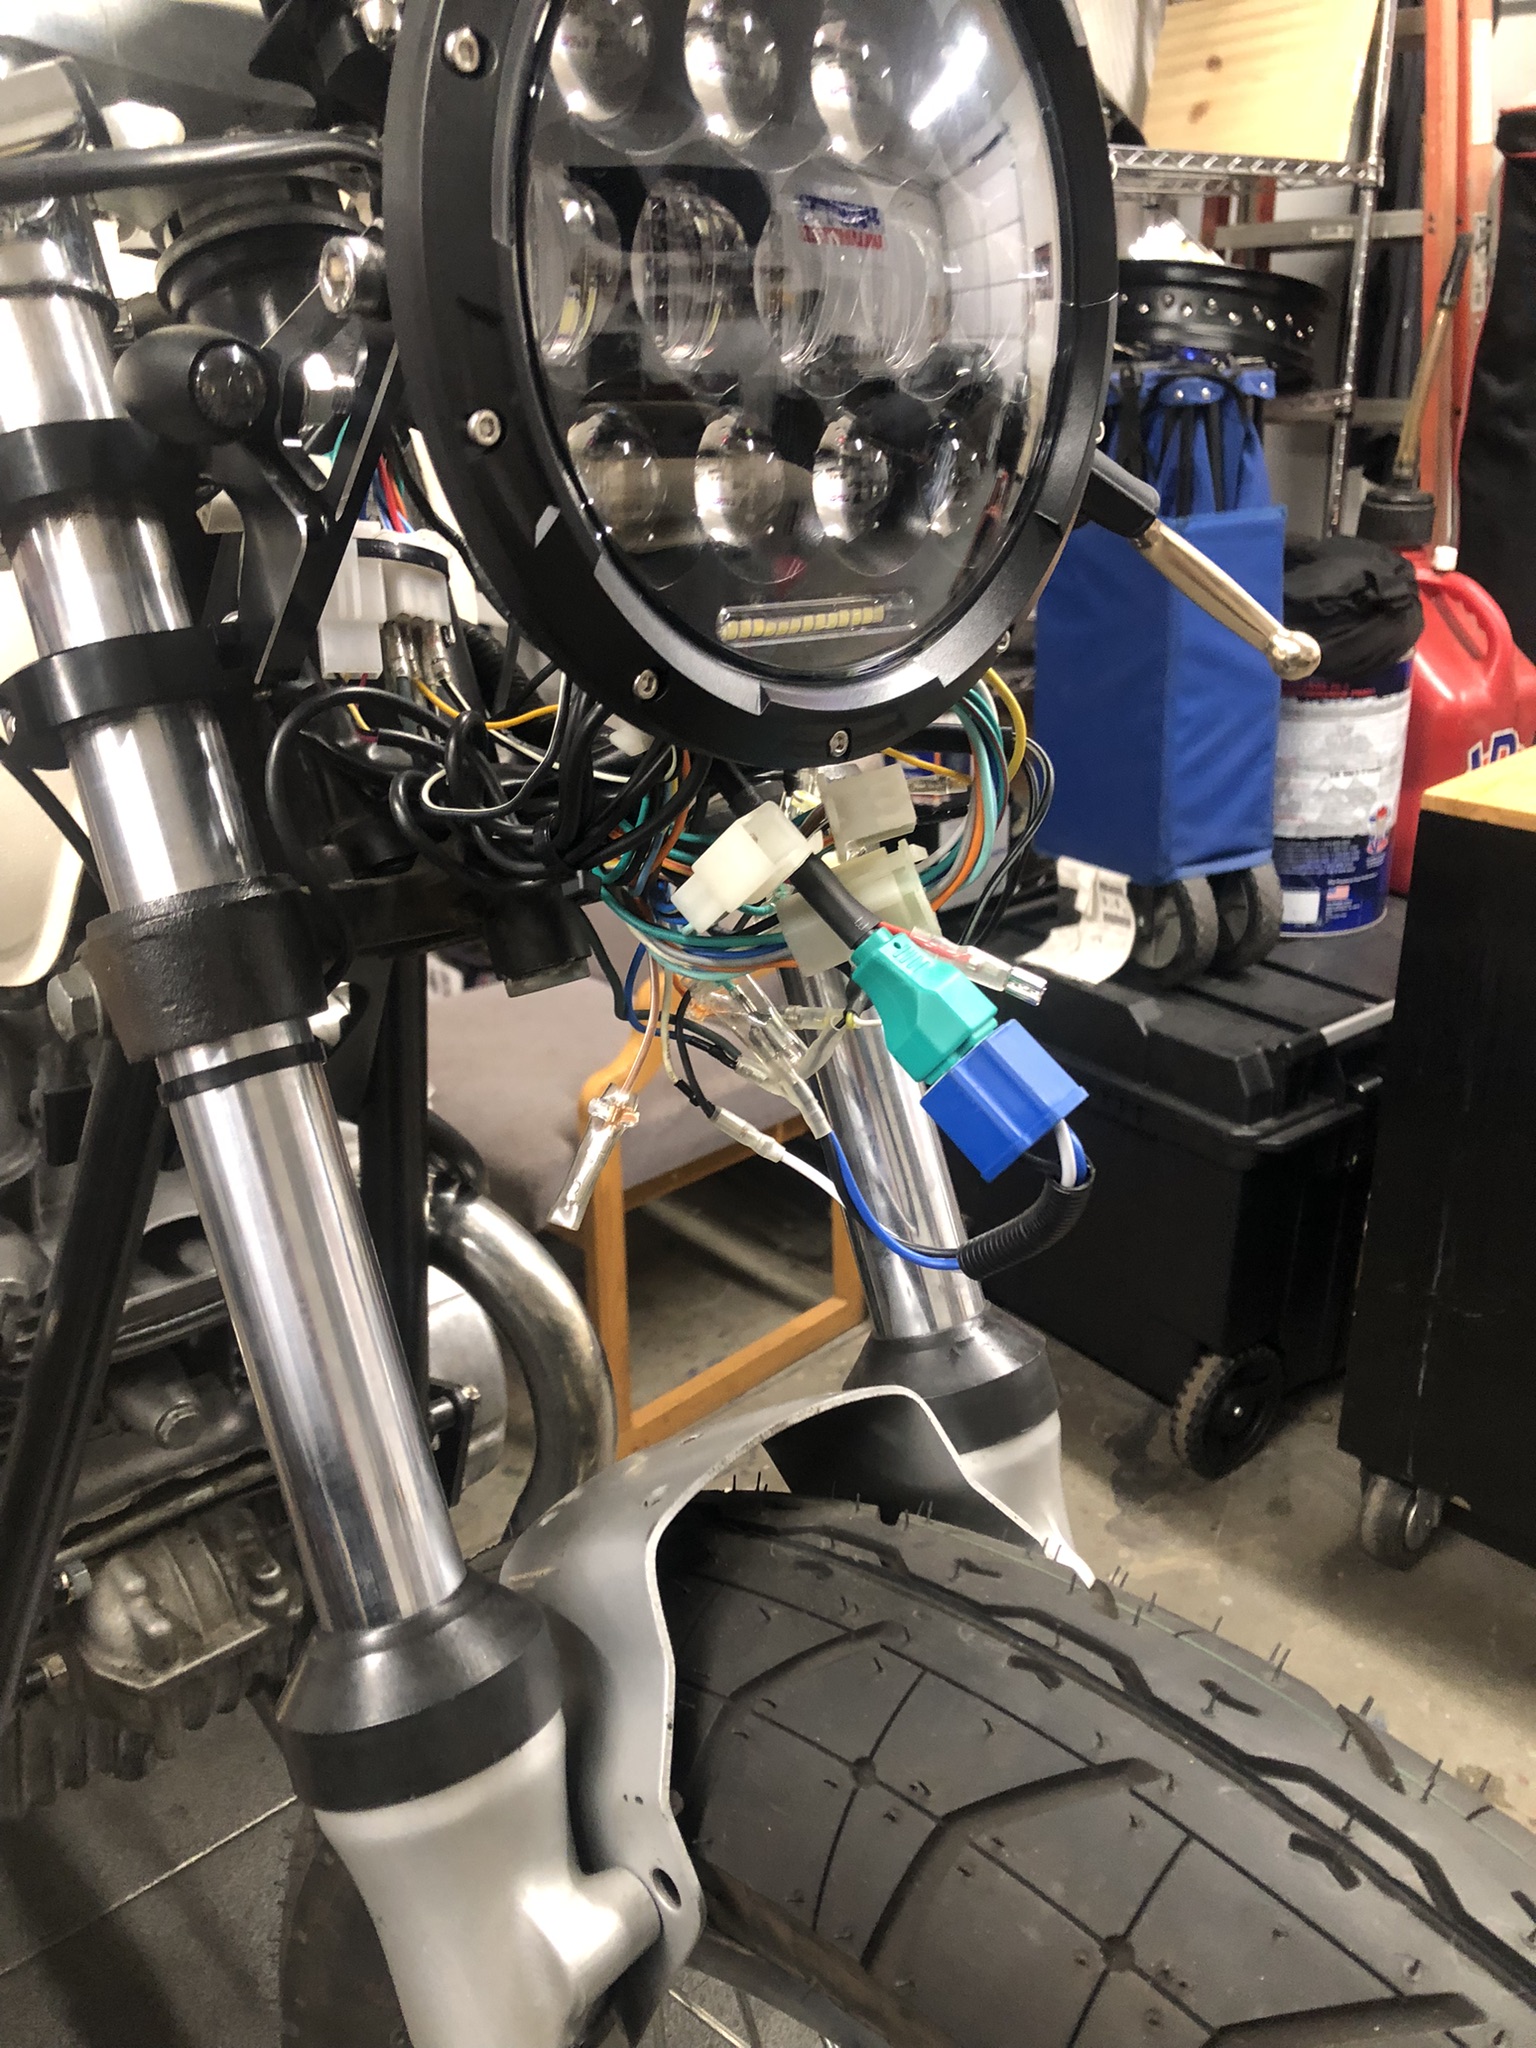
Oh no! now you have this big nest of wires to deal with. Well that is where the drawstring bag comes into play. Stuff all those wires in the bag, pull it tight, and tuck away for safe keeping. It should look something like this.
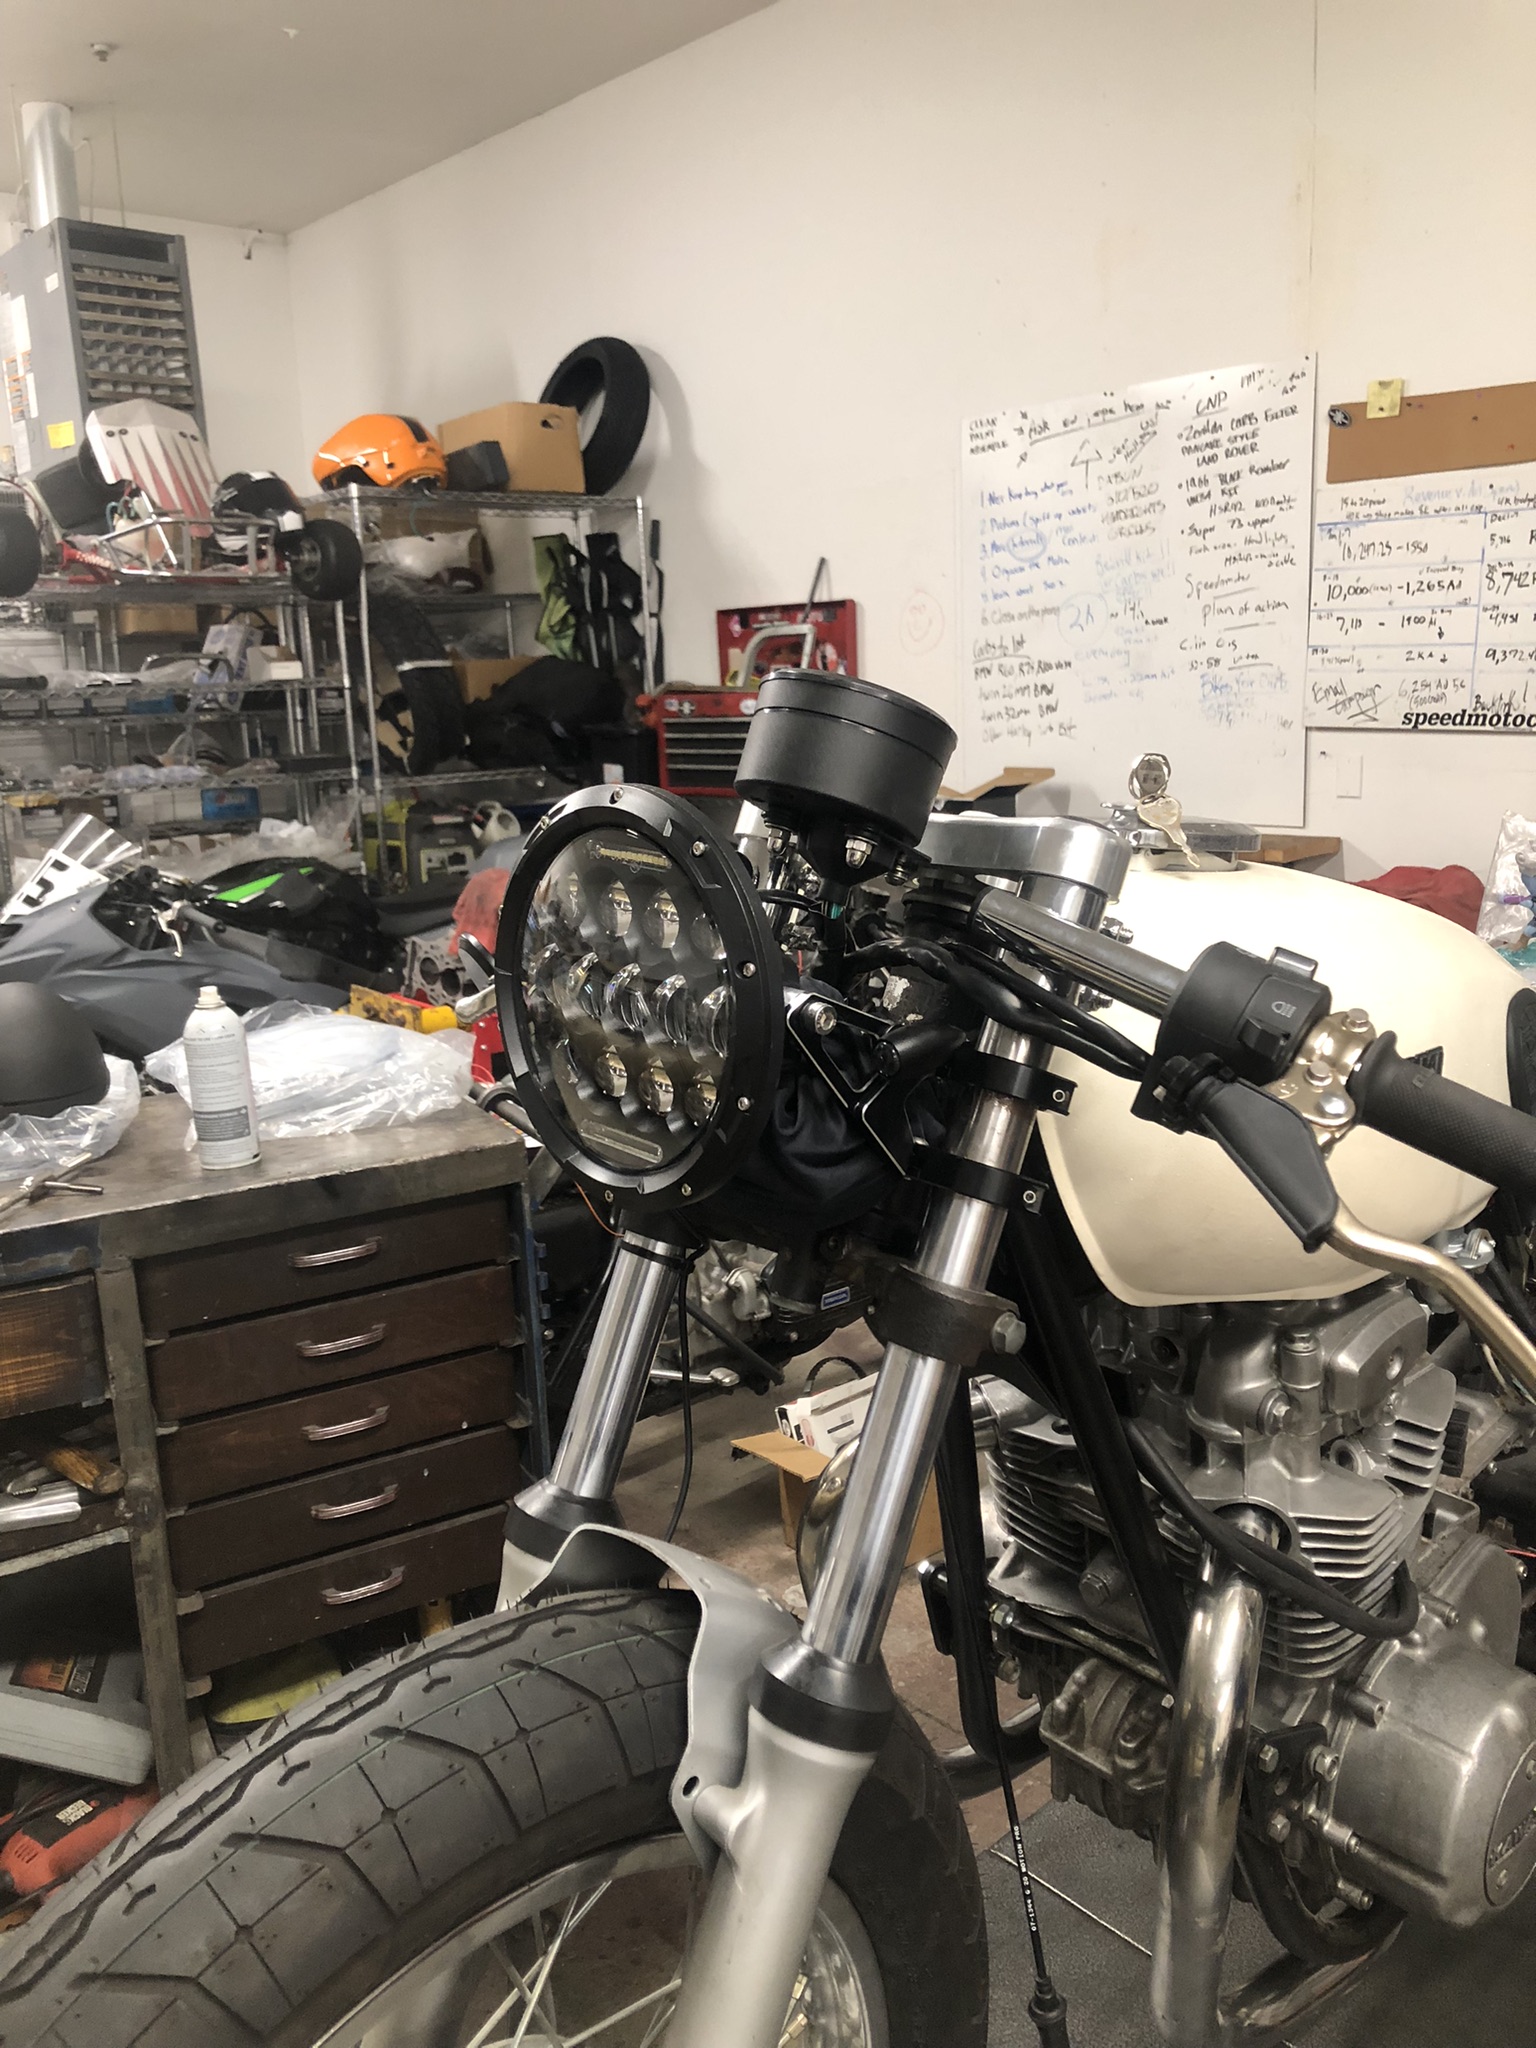
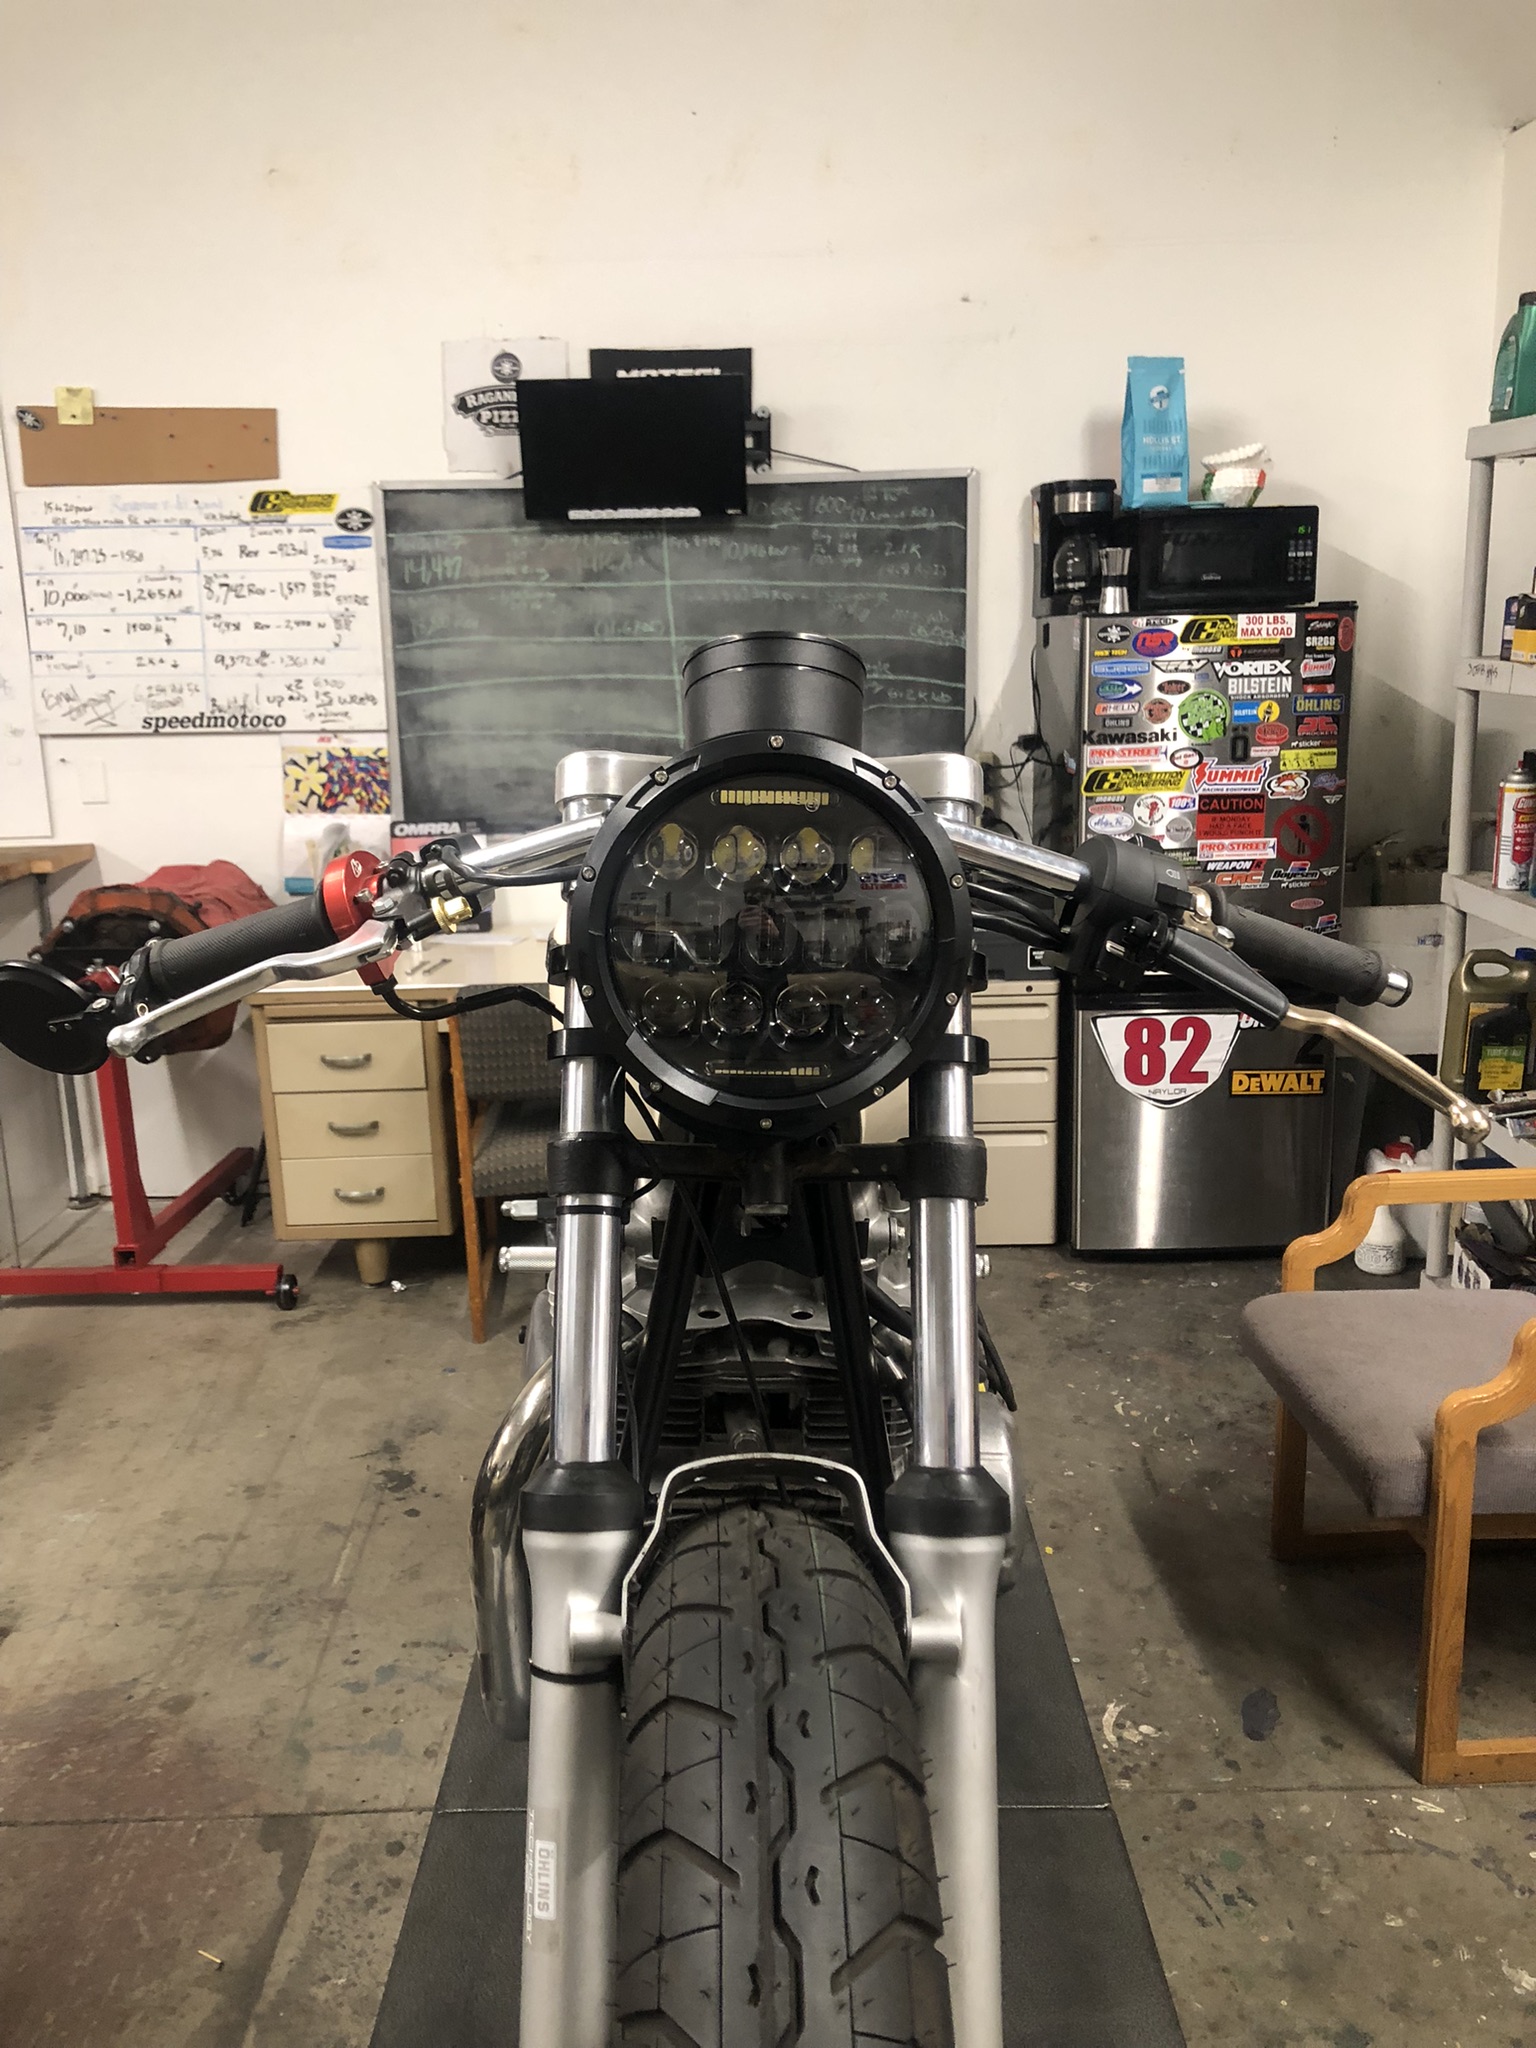
Pretty neat right? Now here is the light on LOW and HIGH beam.
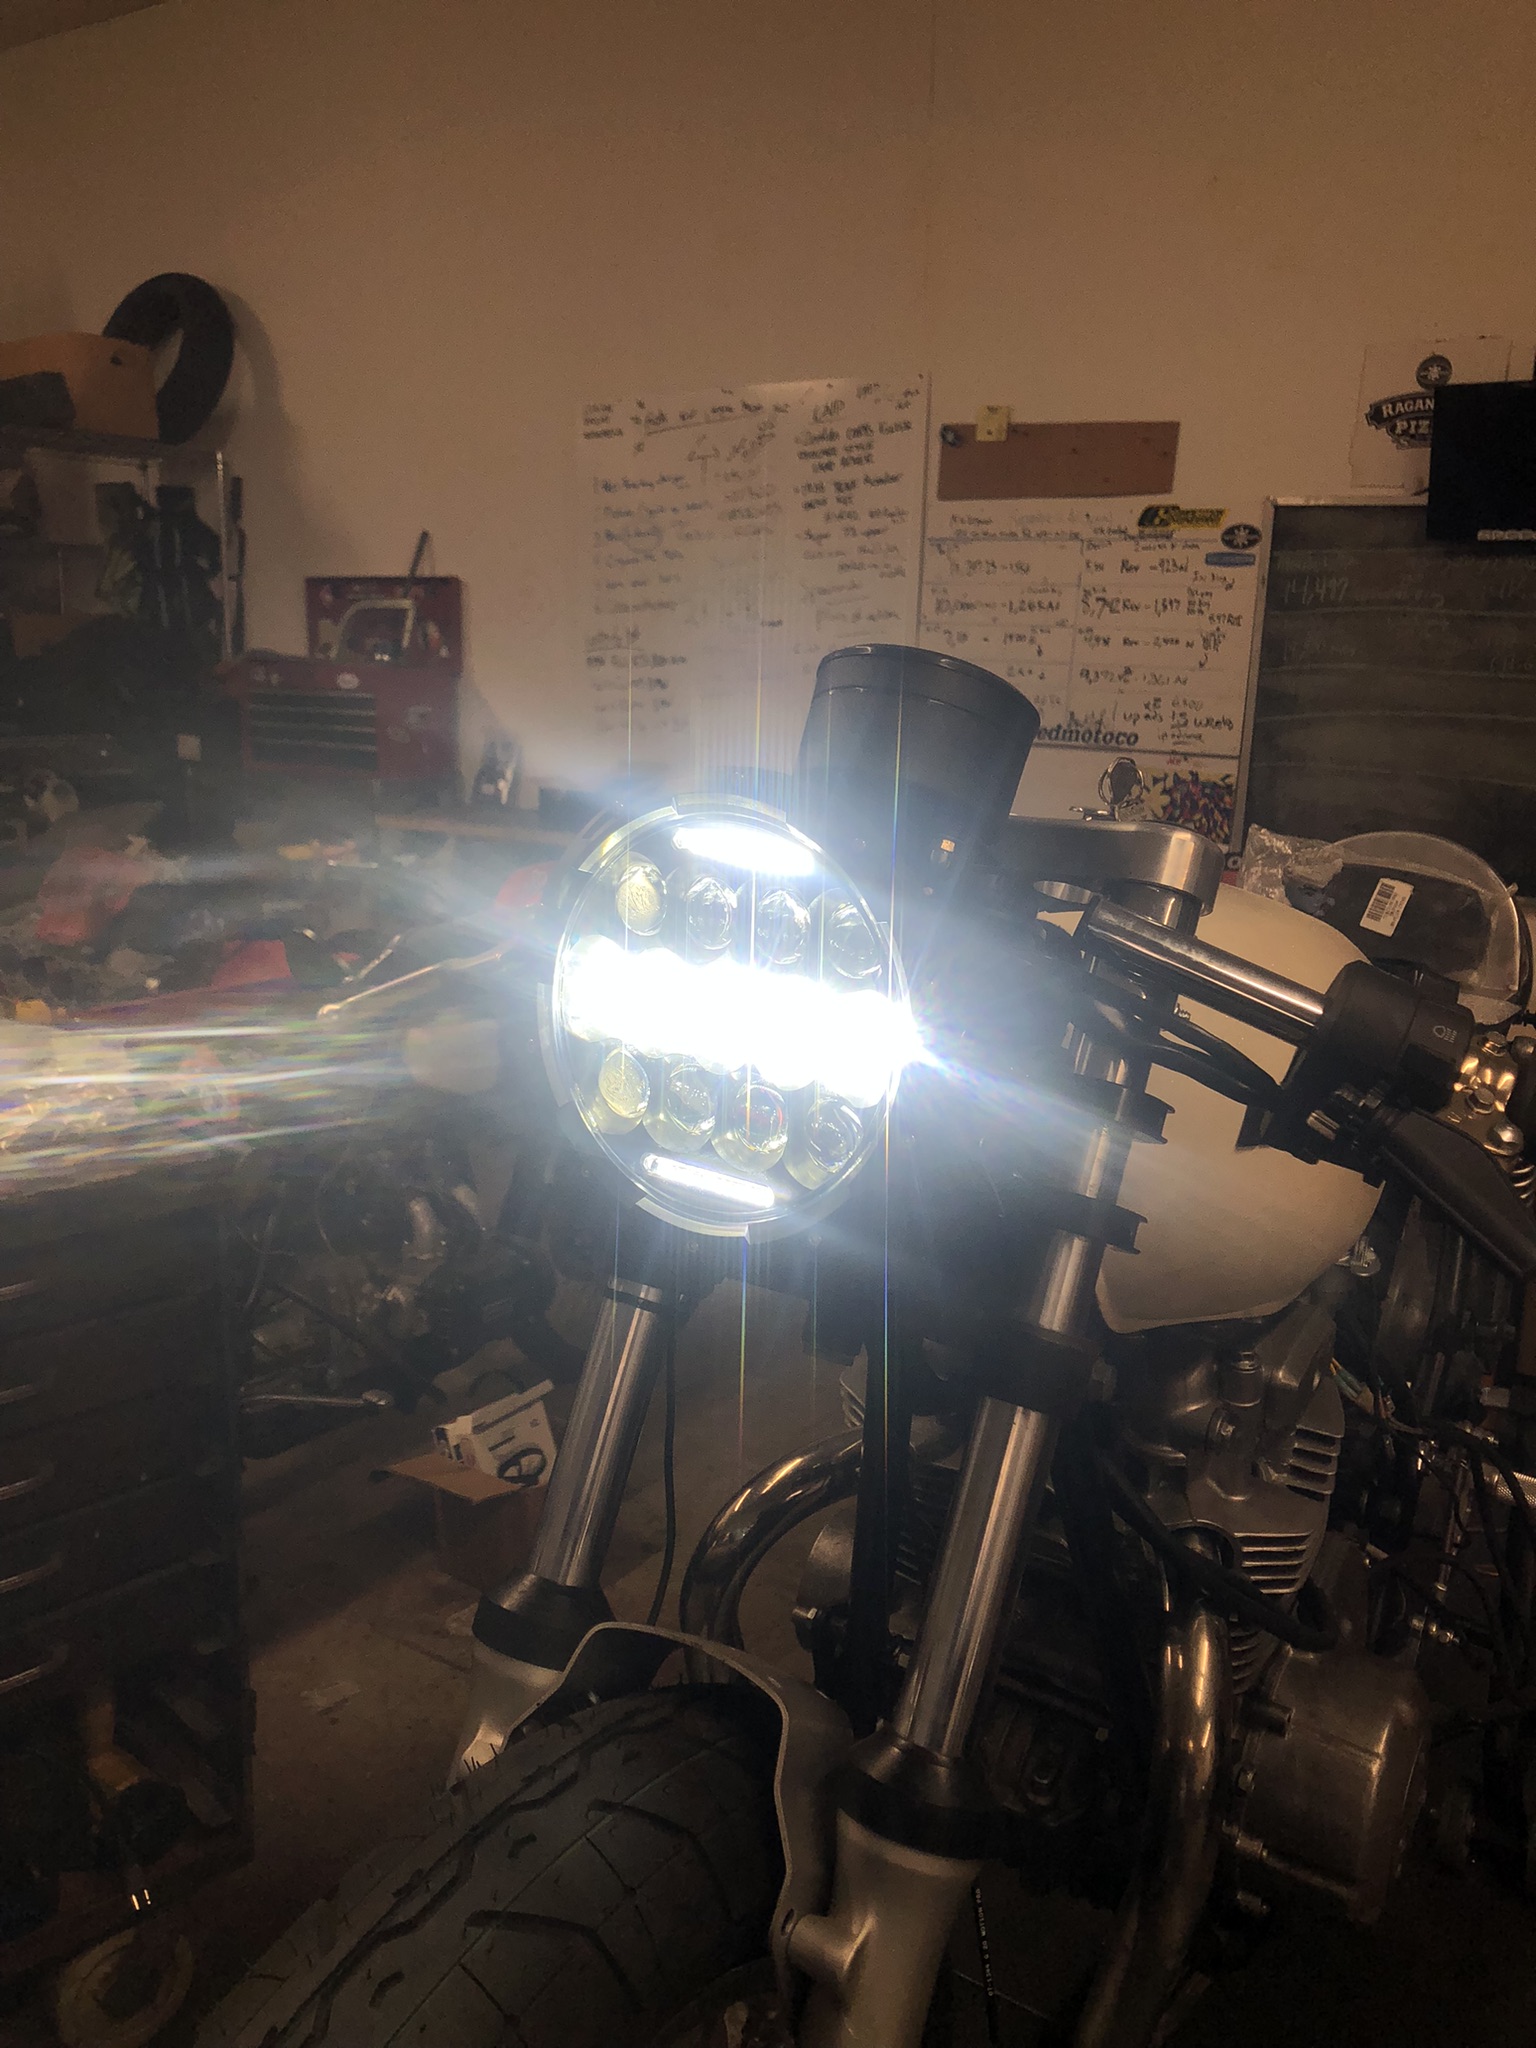
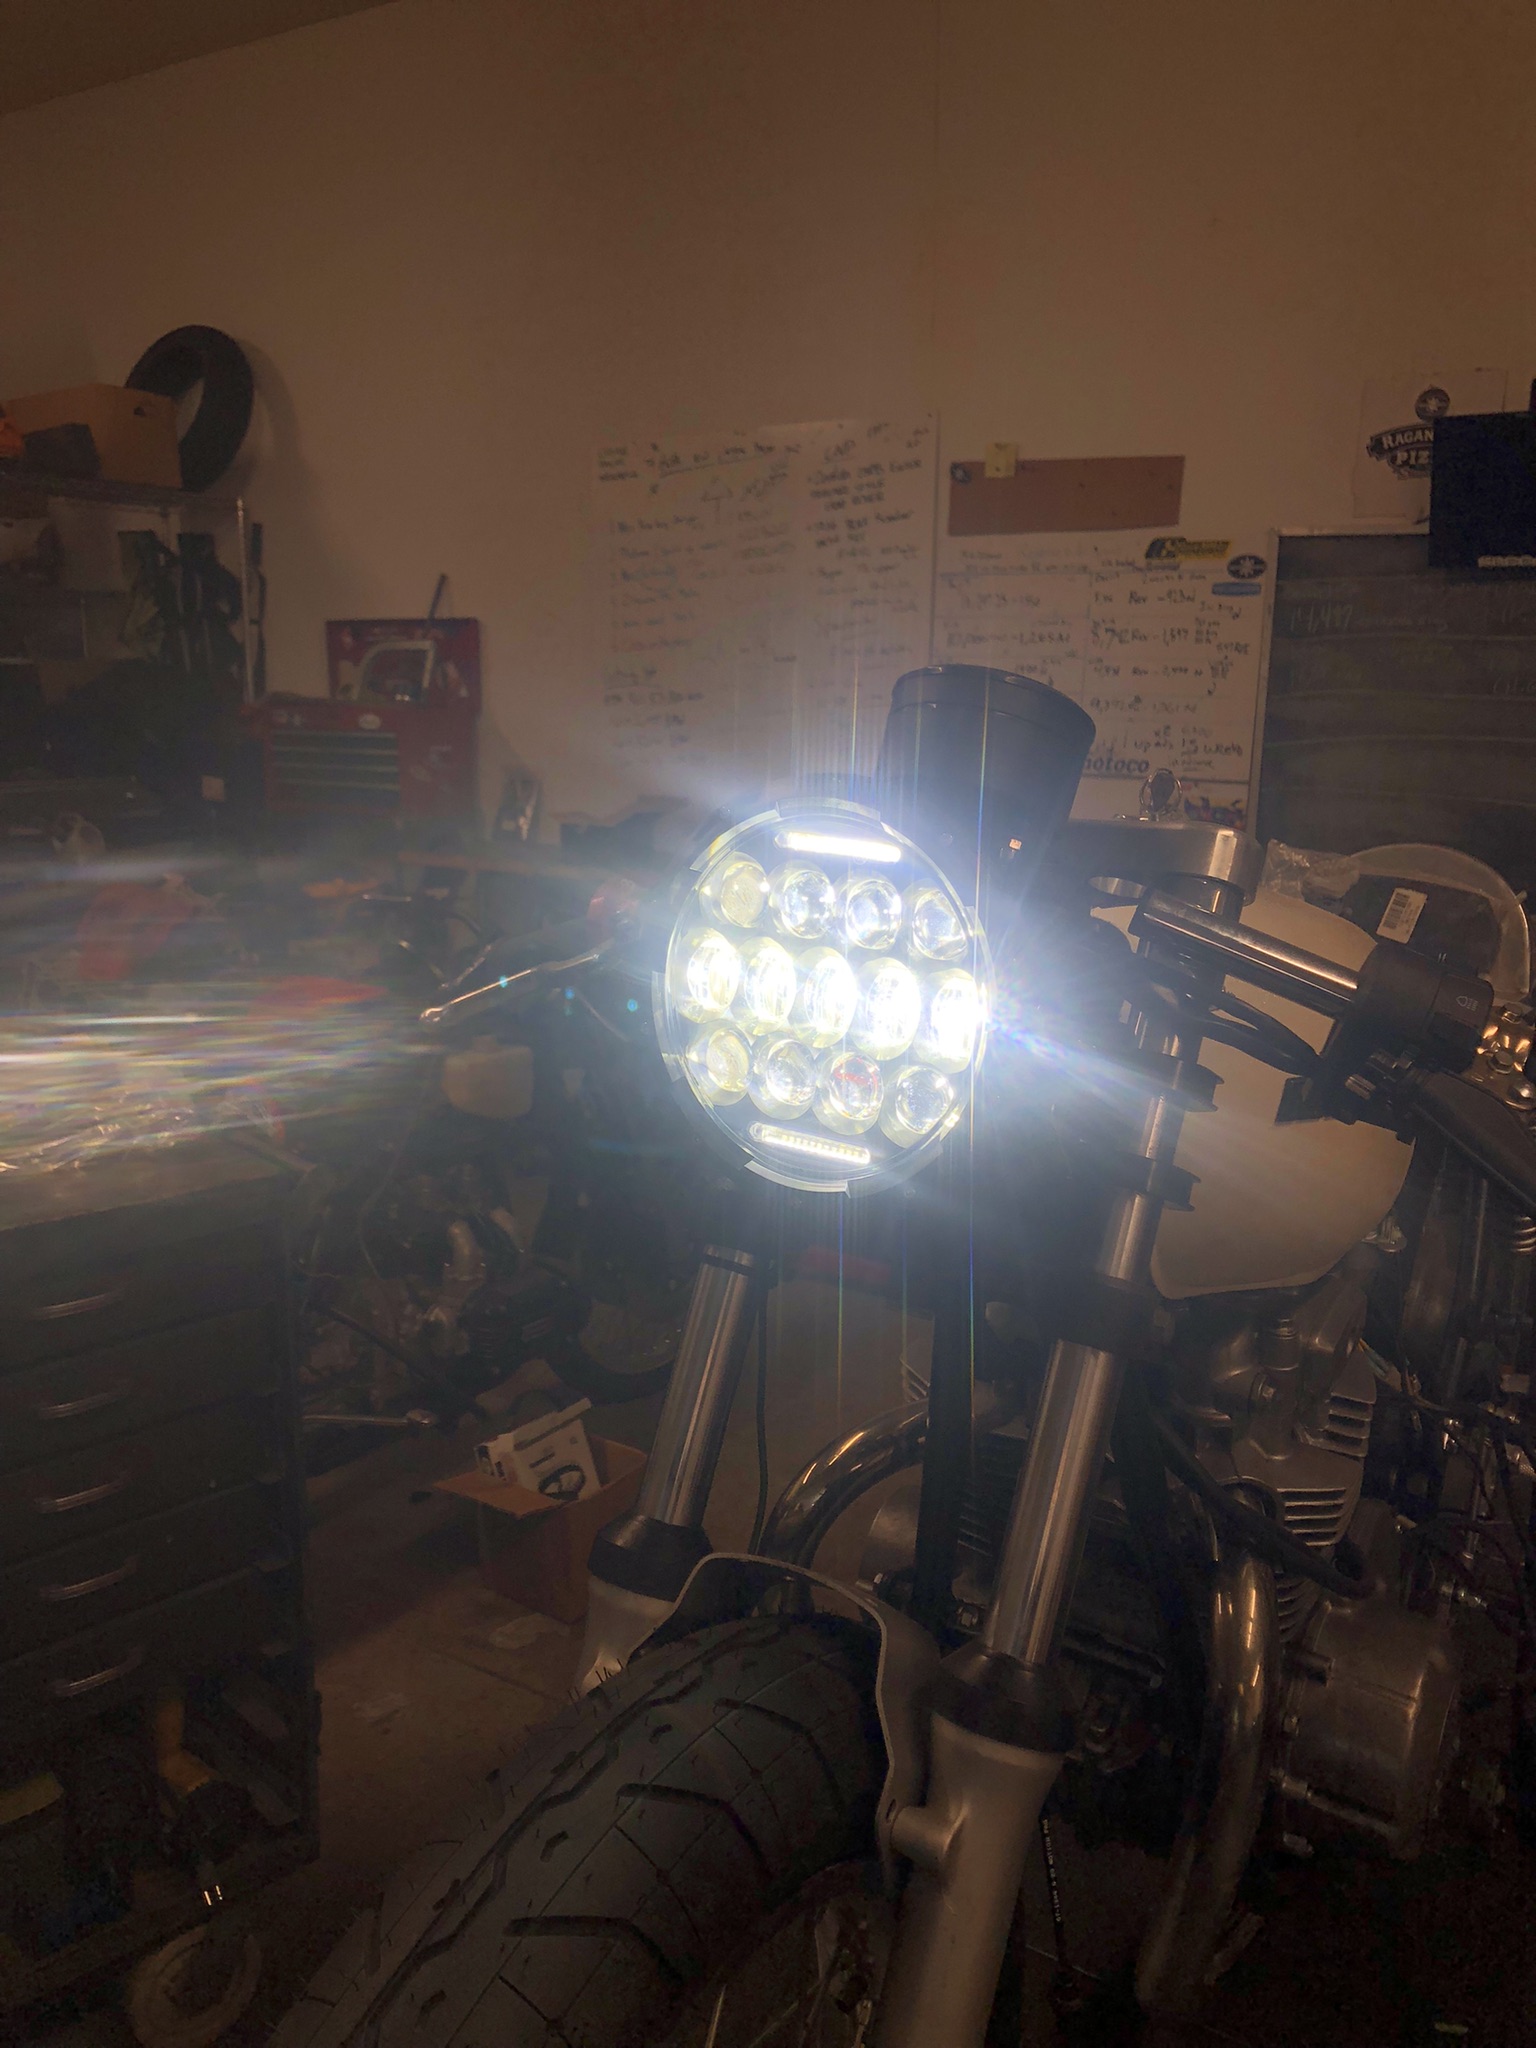
Finally some shots of the light beam. First on LOW then on HIGH.

Sweet! Now you are ready to ride any time of day. Link to the headlight kit here and our full range of headlights here.
Recent Posts
-

Mikuni RS 34, 36, 38 Carburetor Kits NOW AVAILABLE
Looking to spice up or revitalize your old Japanese inline 4 cylinder? Look no further! Speedmotoco …May 13th 2026 -
C.A.R.B. Compliance Info The California Air Resources Board (CARB) & Motorcycle Aftermarket Parts
C.A.R.B. Compliance Info The California Air Resources Board (CARB) & Motorcycle Aftermarket …Mar 27th 2026 -

Revving Up Your Ride: Upgrading to Mikuni Carburetors and LED Headlights at SpeedMotoCo
Revving Up Your Ride: Upgrading to Mikuni Carburetors and LED Headlights at SpeedMotoCo Hey rid …Feb 23rd 2026